Introduction
If you own a ProMaster Dash 10.1 tablet and frequently use it in your vehicle, having a reliable mount can make a huge difference. A well-placed tablet mount allows you to use navigation apps, control your music, and keep your device secure while driving. Rather than spending money on a pre-made mount, consider making your own. This DIY project is not only cost-effective but also allows you to customize the angle to suit your needs perfectly.
In this guide, we will walk you through the entire process of making a ProMaster Dash 10.1 tablet angle mount. We will cover everything from choosing the right angle to step-by-step construction and installation. Whether you are a seasoned DIY enthusiast or a complete beginner, our easy-to-follow instructions will help you create a functional and reliable tablet mount for your vehicle.
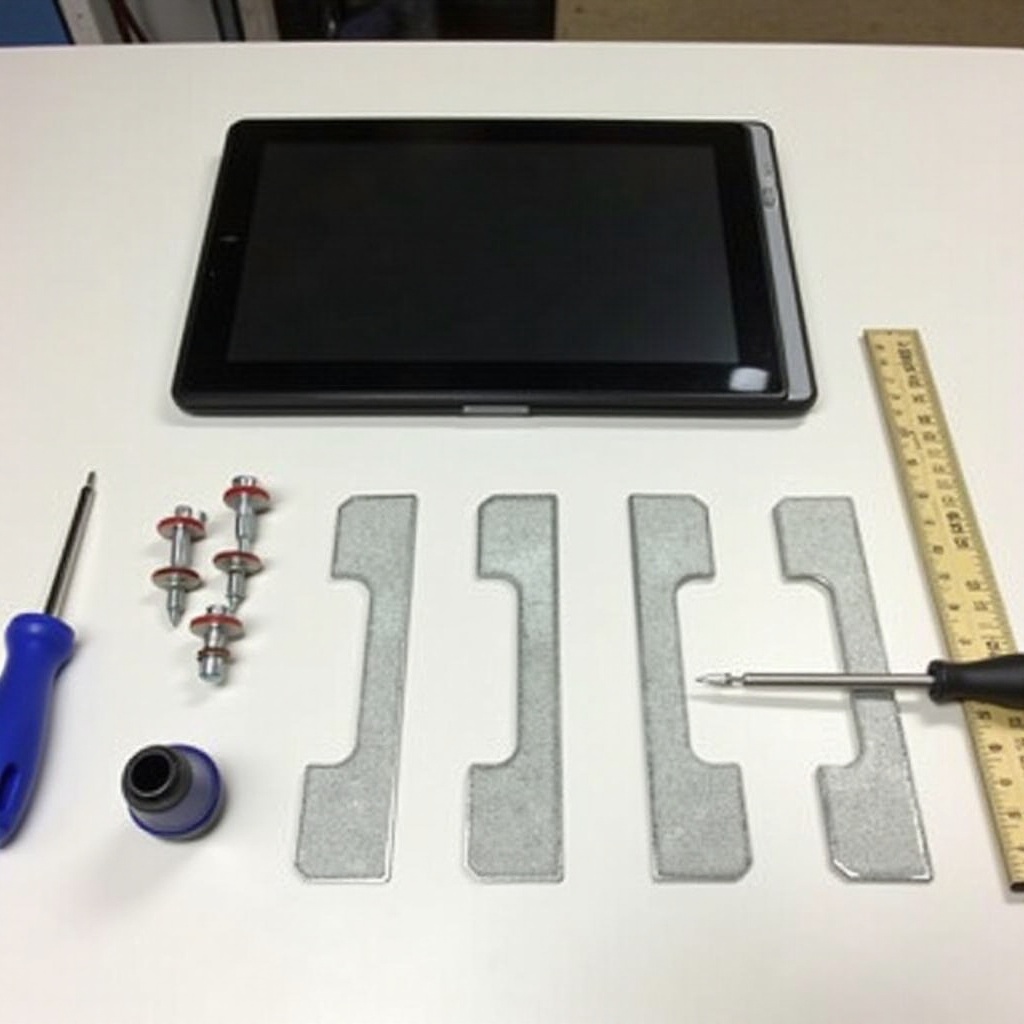
What You Need for the DIY Project
Before you start, gather all the necessary tools and materials. This makes the construction process smoother and ensures that you don’t run into any unexpected hurdles.
Materials:
- A sturdy piece of metal or plastic for the base (around 6×6 inches)
- Adjustable mount arm (available at hardware stores)
- Mounting bracket for the tablet
- Screws and bolts
- Rubber padding for cushioning
Tools:
- Measuring tape
- Marker or pencil
- Drill with bits
- Screwdriver
- Metal/plastic cutting tools
- Sandpaper
Having all these materials and tools on hand will save you time and help you stay focused on each step as you build your mount.
Choosing the Right Mount Angle
Selecting the correct angle for your tablet mount is crucial for both visibility and ease of use. The angle should allow you to glance at the screen without straining your neck or taking your eyes off the road for too long.
Factors to Consider:
- Driver’s Height: Taller individuals may prefer a steeper angle, while shorter individuals might find a shallower angle more comfortable.
- Dash Layout: Consider the design of your dashboard and avoid angles that could obstruct air vents, control panels, or the windshield.
- Screen Glare: To minimize glare, test different angles to see which provides the best visibility under bright conditions.
Taking these factors into account, experiment with a few different angles before making a final decision. This ensures your custom mount will be both functional and safe.
Step-by-Step Mount Construction
Measuring and Cutting Materials
- Measure the Base: Use the measuring tape to determine the dimensions of the base. A 6×6 inch base is usually sufficient.
- Mark Outlines: With a marker, outline where you will cut the metal or plastic.
- Cut the Base: Carefully cut the base using appropriate cutting tools. Ensure your cuts are straight.
- Smooth Edges: Use sandpaper to smooth out any rough edges to prevent cuts or abrasions during assembly.
Assembling the Mount
- Attach the Arm to the Base:
- Position the adjustable arm in the center of the base.
- Drill holes through the base and arm.
- Secure it with screws and bolts.
- Attach the Mounting Bracket:
- Position the bracket on the end of the adjustable arm.
- Drill holes and secure with screws and bolts, ensuring the bracket is level.
- Add Cushioning:
- Apply rubber padding to the base to prevent damaging your dashboard.
- Secure padding with adhesive or screws if necessary.
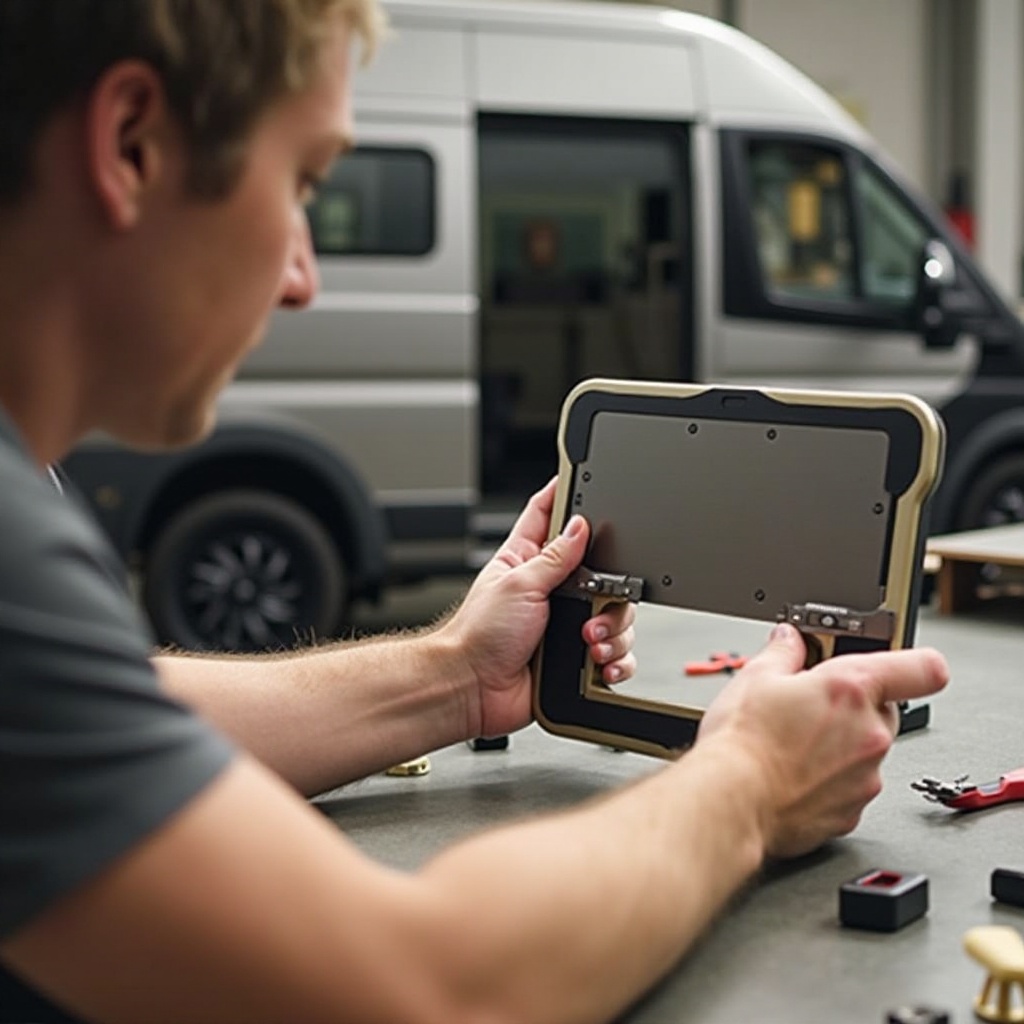
Ensuring Stability and Safety
- Tighten All Screws and Bolts: Make sure all connectors are tightly fastened to prevent any movement.
- Support Weight: Test your mount to ensure it can support the weight of the ProMaster Dash 10.1 tablet.
- Check for Loose Parts: Ensure there are no wobbly or loose components that could affect stability.
Installing the Mount on the Dashboard
Once your tablet mount is assembled, the next step is installation. Locating the ideal spot on your dash is key to ensuring easy access and good visibility.
- Choose Location: Pick a spot on your dashboard that provides clear visibility and doesn’t obstruct your driving view.
- Clean the Area: Wipe the spot with a clean cloth to remove dust and debris.
- Attach the Base:
- Position the base on the chosen spot.
- Use screws or adhesive to secure the base firmly to the dashboard.
- Check Stability: Ensure the mount is stable and doesn’t move when you apply pressure.
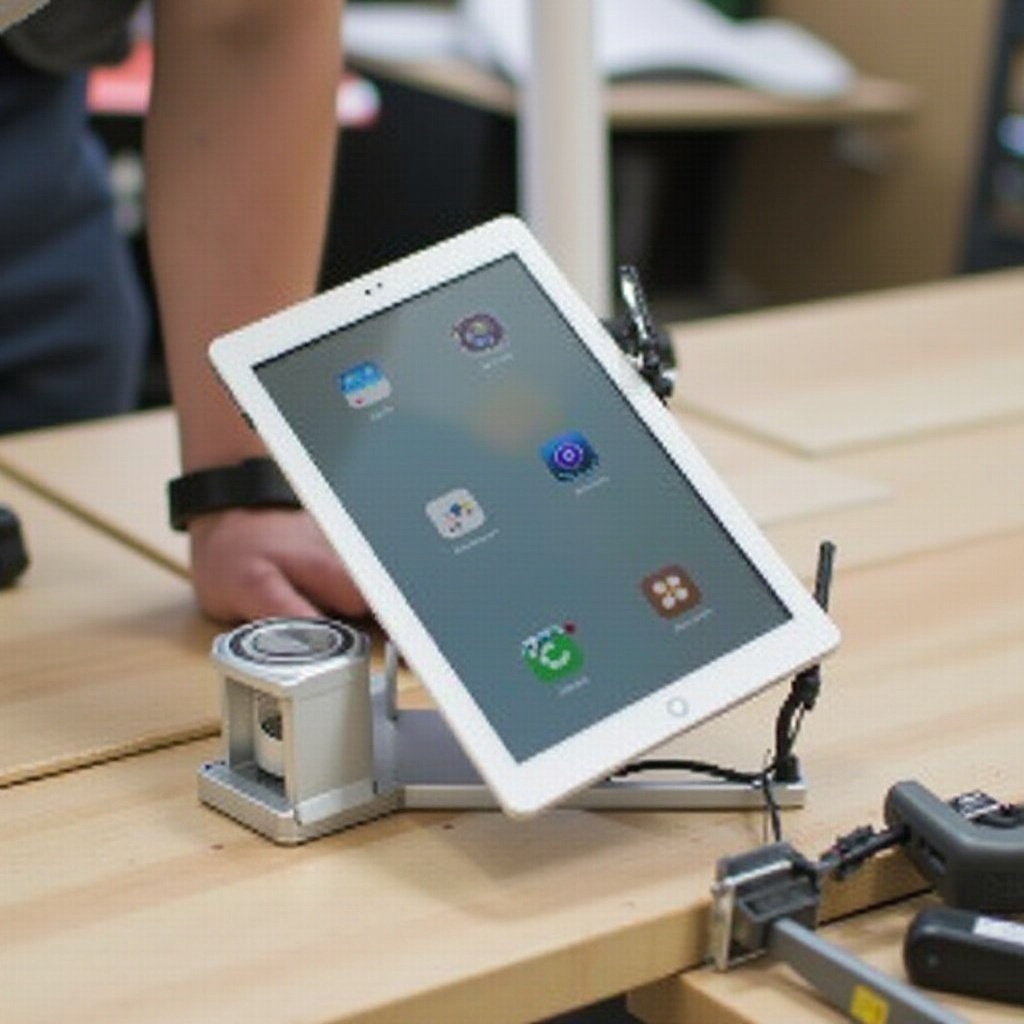
Securing Your ProMaster Dash 10.1 Tablet
After securing the mount, it’s time to place your tablet.
- Align the Tablet: Place your tablet on the mounting bracket, ensuring proper alignment with the grips.
- Secure the Tablet: Tighten the grips or straps to hold the tablet securely in place.
- Test Stability: Give the tablet a gentle shake to ensure it is firmly secured and will not fall off during movement.
Testing and Adjustments
After installation, it’s essential to test the mount and make any necessary adjustments.
- Adjust Angles: If the initial angle is not ideal, adjust the mount arm to a more comfortable position.
- Test Visibility: Drive around and ensure you can view the tablet screen without any strain or glare.
- Check Stability: Regularly check the stability and re-tighten any screws or bolts as needed over time.
Testing and making adjustments might take a bit of time but will ensure your tablet mount is perfect for your usage.
Conclusion
Creating your own ProMaster Dash 10.1 tablet angle mount can be a rewarding project. Not only does it save money, but it also allows you to customize the mount to your exact needs. By following this detailed guide, you can construct a stable and functional mount that enhances your driving experience.
Whether you need it for navigation, music, or other purposes, your custom mount will keep your tablet secure and conveniently positioned. Happy DIY-ing!
Frequently Asked Questions
Can I use different materials for the mount?
Yes, you can use various materials such as metal, plastic, or wood, depending on what you have available. Ensure the material is sturdy enough to support the tablet’s weight.
How do I ensure the mount stays stable?
To ensure stability, tighten all screws and bolts securely, test for any wobbly parts, and make adjustments as needed. Using rubber padding can also help provide additional grip and stability.
Is this mount adjustable after installation?
Yes, using an adjustable arm allows you to change the angle even after installation. Simply loosen the adjustment screws, reposition the tablet, and secure it back in place.