Introduction
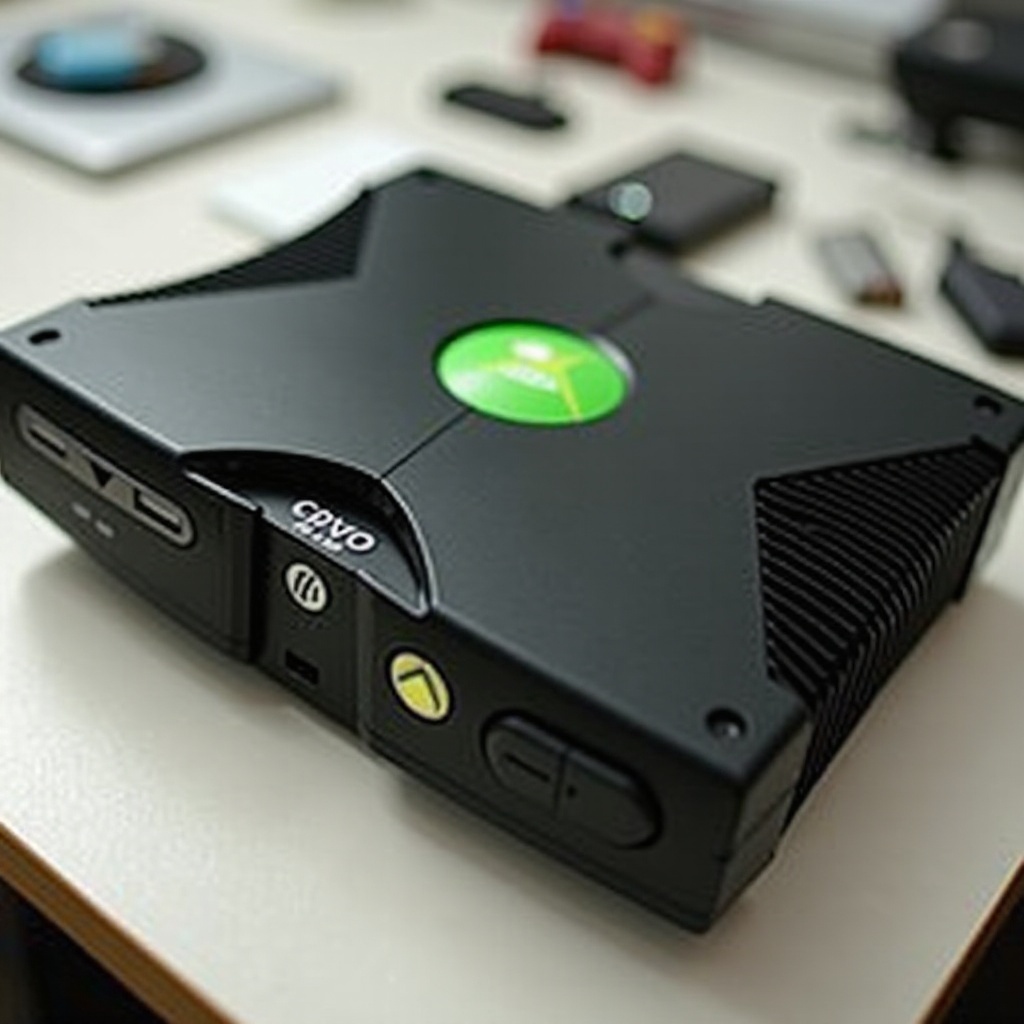
Disassembling your original Xbox isn’t just for tech enthusiasts. Whether you’re dealing with a hardware problem or planning to upgrade components, understanding how to take apart your Xbox properly can save you time and money. This guide provides clear instructions, ensuring you handle your console with care.
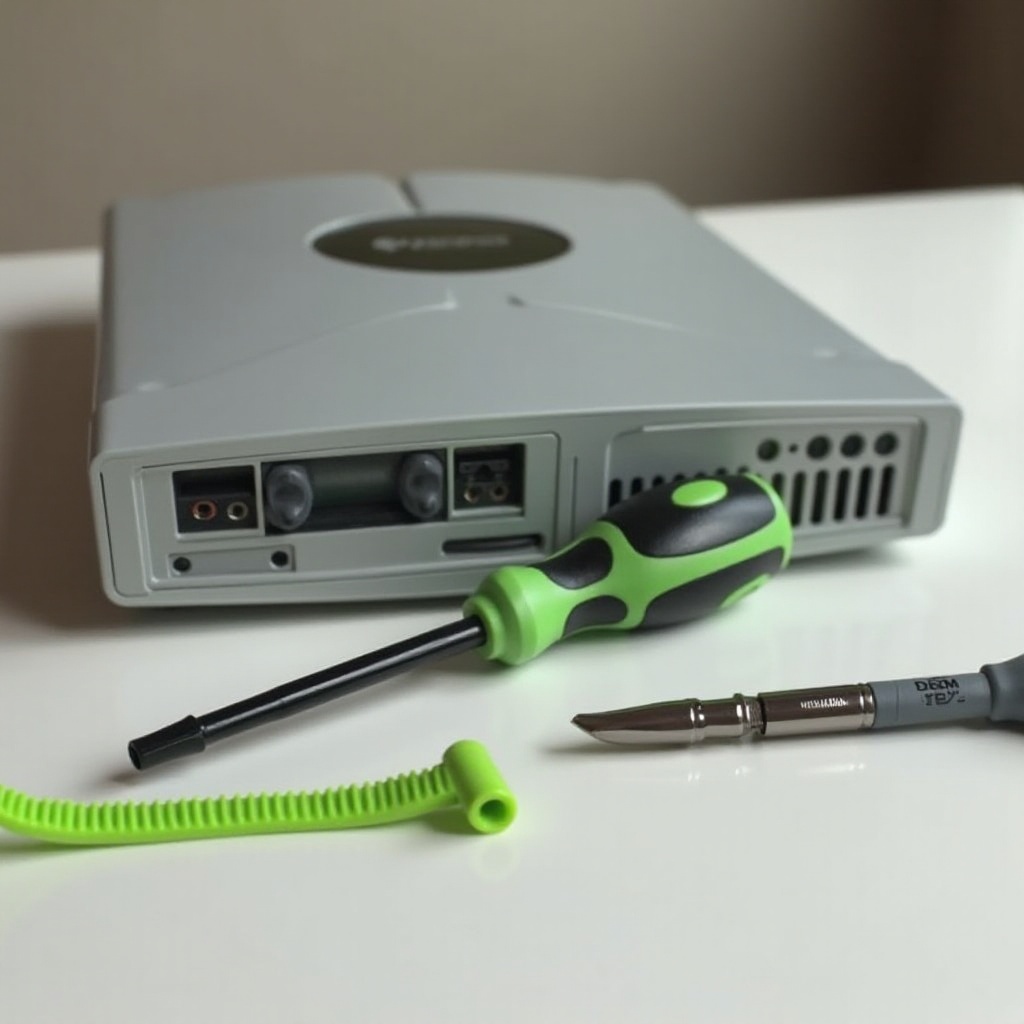
Tools Required for Disassembly
Before you start disassembling your Xbox, it’s essential to have the right tools at hand. Adequate preparation will ensure a smoother and safer process.
- Phillips screwdriver
- Flathead screwdriver
- Torx T10 and T20 screwdrivers
- Anti-static wrist strap
- Containers for securing screws
The use of an anti-static wrist strap is crucial to prevent damage to sensitive components. With tools in place, you’re ready to move on to preparing the Xbox.
Essential Tools List
A succinct list of your requirements includes:
– Phillips and Flathead screwdrivers
– Torx T10 and T20 screwdrivers
– Anti-static wrist strap
– Containers for organizing screws
Safety Tips
- Ensure the Xbox is completely powered down and unplugged.
- Wear an anti-static wrist strap to guard against damaging internal electronic components.
- Keep all screws and small parts organized for efficient reassembly.
After gathering your tools, the workspace setup is your next step.
Preparing Your Xbox for Disassembly
Preparation is key to preventing damage during disassembly. Follow these guidelines to ready your Xbox.
Setting Up Your Workspace
- Secure a clean, flat surface with ample lighting.
- Place a soft cloth to protect against scratches.
- Accessible containers should be on hand for parts.
Disconnecting Your Xbox
- Unplug the console and ensure it’s powered off.
- Disconnect any attached cables, such as the power cord and AV cables.
Now that your Xbox is ready, you are set to begin the disassembly process.
Step-by-Step Disassembly Instructions
Disassembling the Xbox requires careful attention to details. Follow these steps closely to avoid damage.
Removing the Top Cover
- Position the Xbox upside down.
- Remove rubber feet covering screws.
- Carefully lift the top cover off.
Detaching the DVD Drive
- Unfasten screws and disconnect power/data cables.
- Gently extract the DVD drive.
Unplugging Internal Cables
- Locate and disengage the IDE and power cables from the hard drive.
- Be gentle with handles to avoid ripping or tearing.
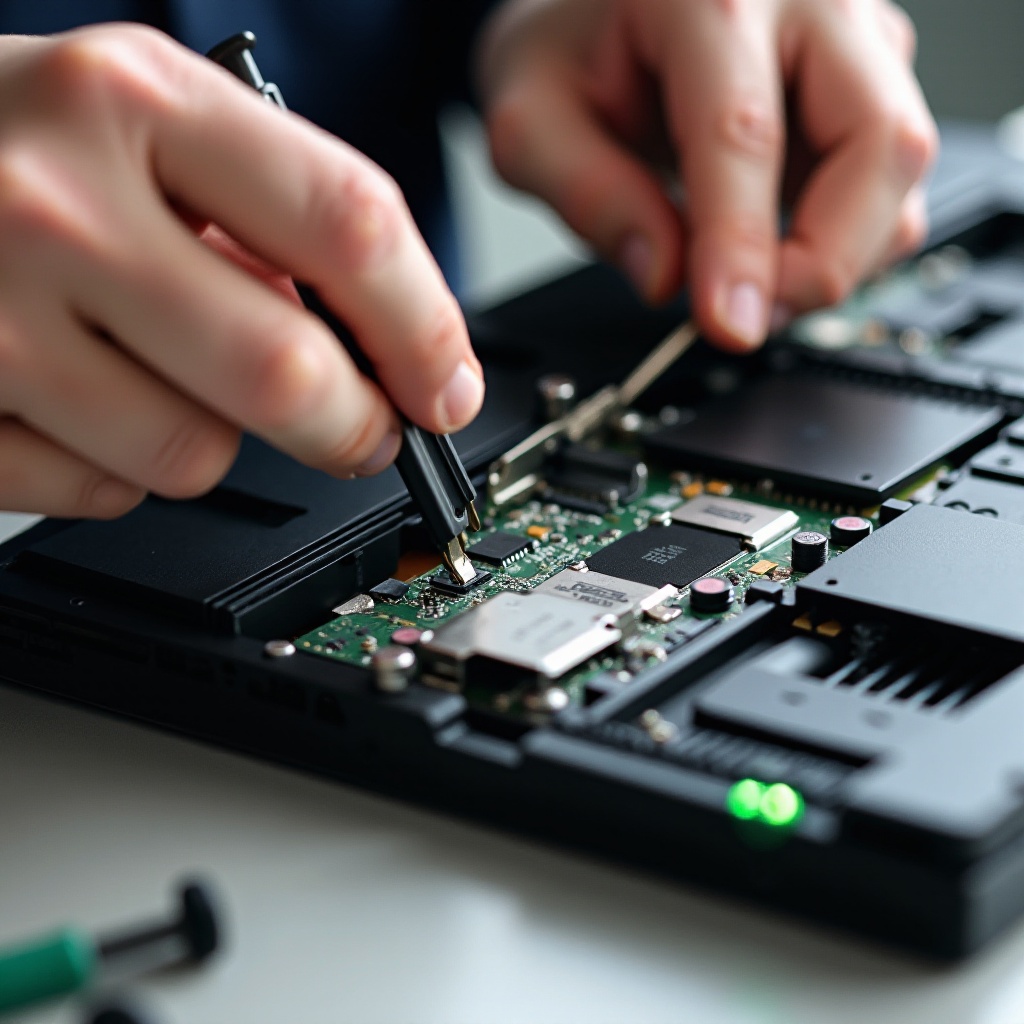
Accessing the Motherboard
- Identify and remove screws holding the motherboard.
- Lift the motherboard cautiously, taking care not to damage attached parts.
With components accessible, you can efficiently troubleshoot existing issues.
Troubleshooting Common Issues
Upon opening your Xbox, you might face common hardware issues. Here’s how to efficiently address them.
Handling a Stuck CD Tray
- Inspect tray alignment, correcting if askew.
- Verify no debris is obstructing the tray’s operation.
Addressing Overheating Problems
- Check for dust accumulation in fan areas, and clean with compressed air.
- Evaluate CPU thermal paste effectiveness and consider reapplication.
Troubleshooting is complete, the focus shifts to reassembly.
Reassembly and Testing Your Xbox
With disassembly and inspection complete, reassembling optimally requires attention to detail. Perform tests to ensure full functionality.
Putting Your Xbox Back Together
- Re-seat the motherboard and reconnect all cables.
- Reinstall the DVD drive and secure the hard disk.
- Fasten screws and replace protective rubber feet once the cover is settled.
Ensuring Functionality
- Reattach the power cables.
- Turn on the Xbox and validate its full operational capability.
Congratulations on successfully processing your Xbox’s disassembly and reassembly. Let’s wrap up what you’ve achieved.
Conclusion
Disassembling an original Xbox demands a careful and patient approach. This guide enabled you to safely access and troubleshoot common issues in your console. Maintaining regular checks and cleanings assures your device’s longevity and performance.
Frequently Asked Questions
Is disassembling my Xbox going to void the warranty?
Yes, opening your Xbox will typically void any existing warranty.
What should I do if my Xbox doesn’t power on after reassembly?
Double-check all connections and ensure that cables are securely plugged.
How can I safely clean the internal components of my Xbox?
Use compressed air to gently remove dust, and ensure anti-static measures are in place when handling electronics.