Introduction
Your phone jack can accumulate dirt and debris over time, which can impact your device’s performance. Sound quality issues or charging problems can often be traced back to a dirty phone jack. Regular cleaning ensures optimal device functionality and longevity. This guide provides step-by-step instructions on how to clean your phone jack safely, including tools needed and common mistakes to avoid.
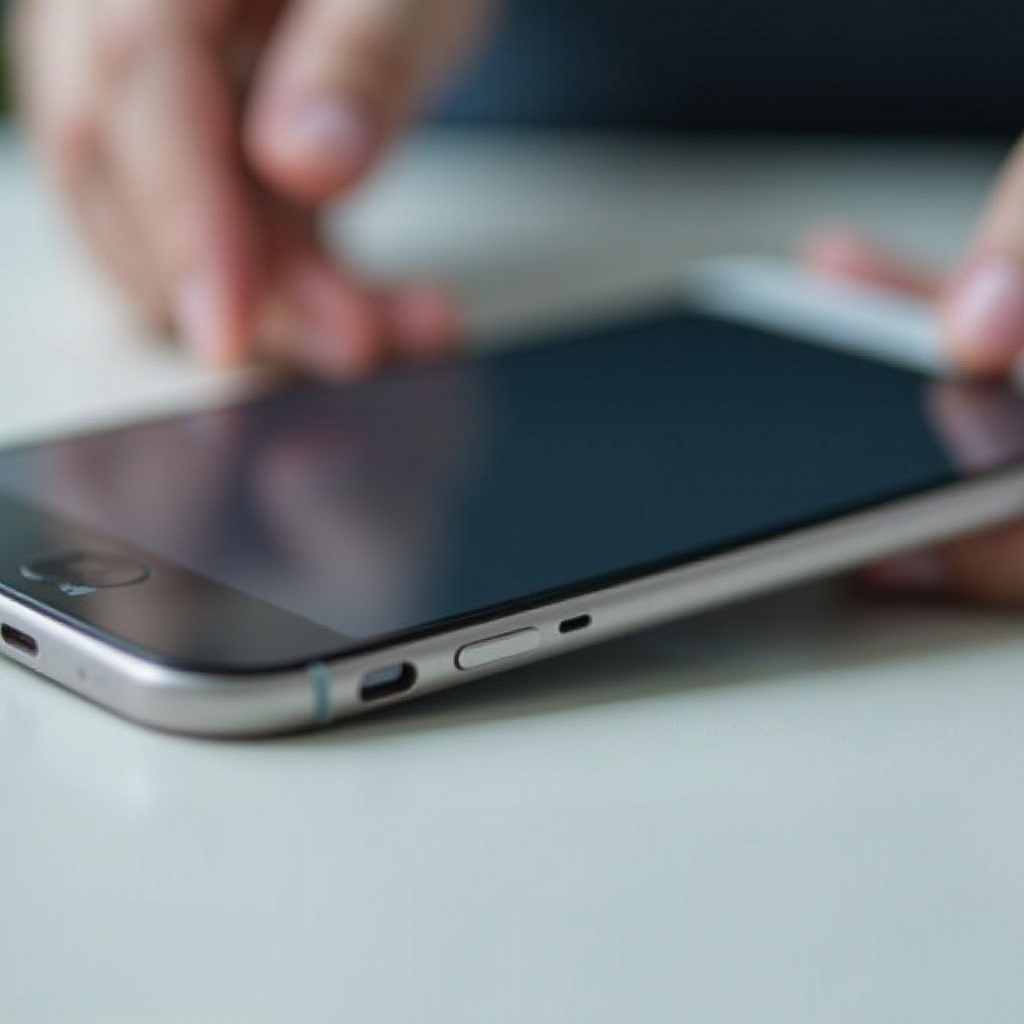
Understanding Your Phone Jack
Phone jacks come in various types, primarily headphone and charging ports. These components are crucial for daily use but can be susceptible to dirt. Typically, debris piles up in phone jacks, leading to issues such as static noise in headphones or intermittent charging.
Understanding these problems allows you to approach cleaning with targeted solutions. By using proper tools and methods, you can clean your phone jack effectively without causing damage.
Signs Your Phone Jack Needs Cleaning
Identifying signs of a dirty phone jack is key:
- Audio Issues: Experiencing static or degraded sound quality when using headphones?
- Charging Problems: Is your device struggling to maintain a consistent charge?
- Visible Dirt and Debris: Do you see dust or lint when inspecting the jack?
These signs indicate that it’s time for a thorough cleaning to restore your device’s full functionality.
Tools Needed for Cleaning
Ensure you have these tools ready for safe cleaning:
- Compressed Air: Helps dislodge dust without causing damage.
- Cotton Swabs and Toothpicks: Useful for gently removing visible debris.
- Isopropyl Alcohol: When used sparingly with cotton swabs, it helps in deeper cleaning.
Choosing the right tools minimizes risk while maximizing cleaning efficiency, setting the stage for a safe cleaning process.
Step-by-Step Guide to Cleaning Your Phone Jack
Cleaning your phone jack requires careful steps:
- Preliminary Cleaning: Power down your device and disconnect accessories.
- Use Compressed Air: Blow gently to remove loose debris.
- Cotton Swab Cleaning: Moisten a swab slightly with isopropyl alcohol for a deeper clean.
- Use Toothpicks for Stubborn Dirt: Tackle tough spots without applying excessive force.
- Post-Clean Inspection: Ensure dryness and absence of remaining debris.
These steps ensure your phone jack is thoroughly cleaned without risk, improving device performance.
Common Mistakes to Avoid
Avoid these pitfalls during cleaning:
- Using Liquid Incorrectly: Direct application can damage internal components.
- Applying Too Much Force: Delicate maneuvering is essential to avoid breaking connectors.
Understanding these common mistakes helps prevent damage and ensure effective cleaning outcomes.
Maintenance Tips for a Clean Phone Jack
Prevent future buildup with these tips:
- Routine Cleaning Schedule: Regular weekly or bi-weekly checks to prevent accumulation.
- Use Dust Covers: Protective plugs can shield ports from debris.
These preventative strategies minimize the need for frequent intensive cleanings, ensuring sustained device health.
Conclusion
Maintaining a clean phone jack is a simple yet crucial practice for ensuring your device remains operational. Regular attention and careful cleaning can prevent complications and enhance longevity. Embracing these practices ensures efficient performance and extends your device’s lifespan, keeping connectivity and charging smooth.
Frequently Asked Questions
Can I use liquid cleaners for my phone jack?
Directly applying liquids can damage the device. Use a moistened cotton swab instead.
How often should I clean my phone jack?
Regular weekly or bi-weekly cleanings are recommended to keep the jack free from debris.
What should I do if my phone jack doesn’t work after cleaning?
If problems persist, consult a professional technician for further inspection and possible repair.