Introduction
If you’ve ever found yourself scratching your head over how to take and find screenshots on your Chromebook, you’re not alone. Screenshots are a handy tool for capturing important information, creating tutorials, or simply saving a funny conversation. Yet, the process can seem a bit confusing at first.
This detailed guide aims to demystify everything about screenshots on your Chromebook. From taking different types of screenshots to locating and managing them, this post covers all aspects you’ll need to know. Additionally, we’ll share some practical tips and tricks to enhance your screenshot-taking experience and troubleshoot common issues.

How to Take a Screenshot on Your Chromebook
Different tasks require different types of screenshots. Thankfully, your Chromebook offers several built-in methods to capture your screen.
Full-Screen Screenshot
To capture everything on your screen:
- Press
Ctrl + Show Windows(F5) key. This will immediately save a screenshot of your entire screen. - A notification will appear in the bottom right corner, confirming that the screenshot has been taken.
Partial Screenshot
Perhaps you only need a specific portion of your screen:
- Press
Ctrl + Shift + Show Windows(F5) keys simultaneously. - Your cursor will change into a crosshair.
- Click and drag across the area you wish to capture, then release the mouse button.
- The screenshot will be saved, and a notification will confirm it.
Window Screenshot with Stylus (If Applicable)
For Chromebooks that come with a stylus:
- Tap the
Stylusicon in the taskbar. - Select the
Capture ScreenorCapture Regionoption. - Use your stylus to select the area or the window you want to screenshot.
Using Chrome Extensions for Screenshots
Several Chrome extensions can enhance your screenshot capabilities:
- Lightshot: A lightweight tool for quick screenshots.
- Awesome Screenshot: Offers advanced editing features.
- Nimbus Screenshot: Ideal for capturing and annotating screenshots.
To use them, simply add the extension from the Chrome Web Store, and follow the tool-specific instructions to capture your screen.
Where to Find Your Screenshots
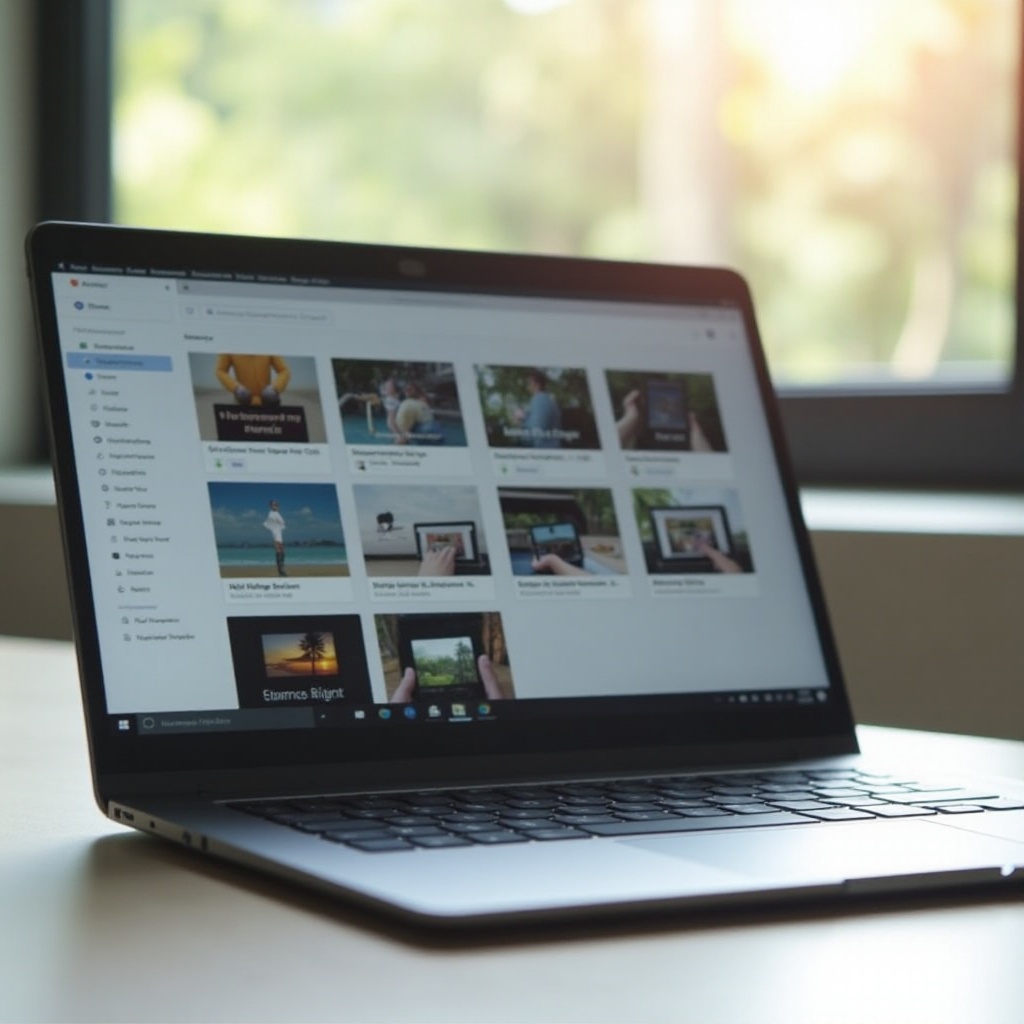
Once you’ve taken your screenshots, the next step is knowing where to find them. Understanding the default save location and managing the storage of your screenshots can streamline your workflow and make future retrieval easy.
Default Location for Screenshots
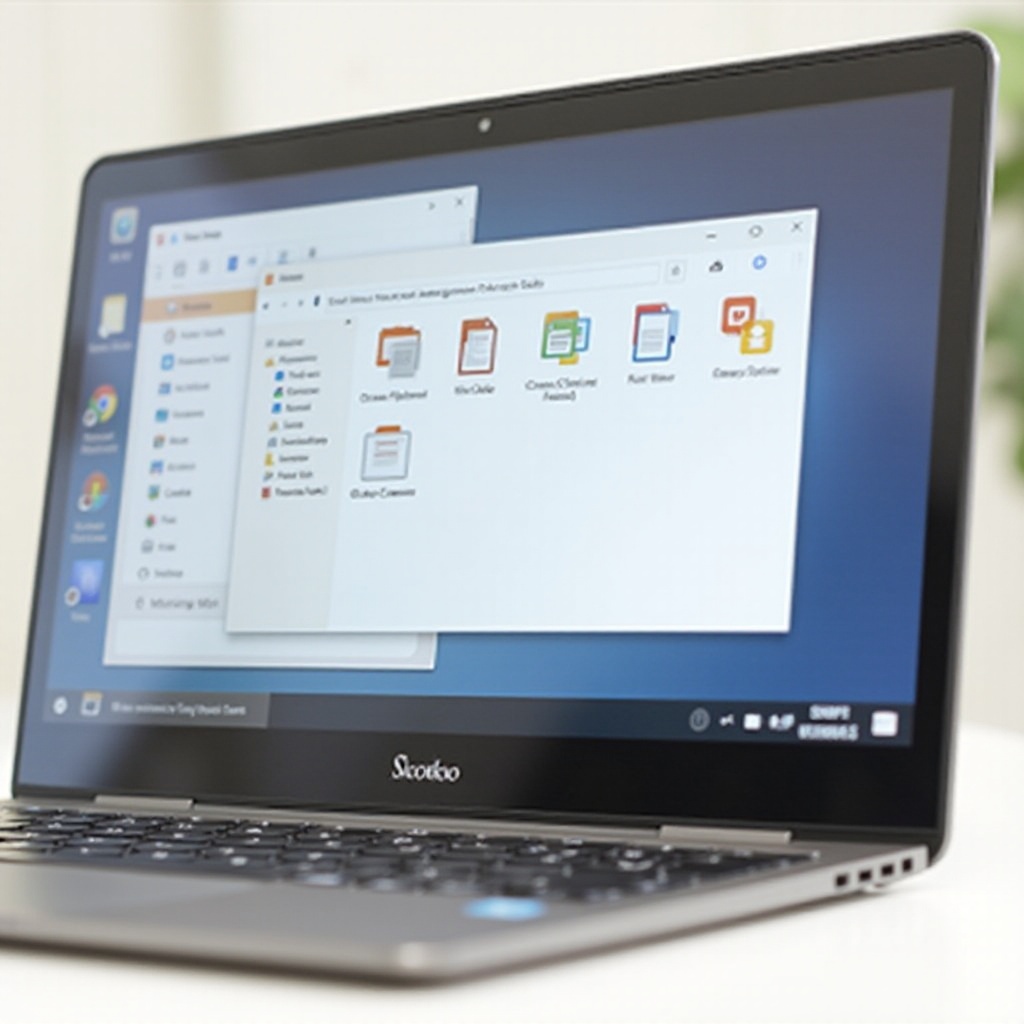
By default, screenshots are saved in the Downloads folder. This is accessible via the Files app on your Chromebook.
Navigating to the Downloads Folder
- Open the
Filesapp from the launcher. - Click on
Downloadsfrom the side panel. - Your screenshots will be listed here with filenames in a format like
Screenshot YYYY-MM-DD at HH.MM.SS.
Customizing Screenshot Save Location
To save screenshots in a different folder:
- Open the Chrome settings.
- Search for ‘Save location.
- Click on
Changenext toLocationand choose your desired folder.
Managing Your Screenshots
Taking screenshots is just the beginning. Efficiently managing them can save you time and improve productivity. Simple acts like renaming files and sorting them into folders can greatly enhance your organization.
Renaming and Organizing
Having descriptive names and organized folders can make locating screenshots quicker:
- Right-click the screenshot in the
Filesapp. - Select
Renameand give it a descriptive name. - Consider creating subfolders for specific projects or tasks and moving screenshots to these folders.
Deleting Unnecessary Screenshots
Regularly clear out screenshots you no longer need:
- Right-click on the screenshot.
- Select
Deleteto remove the file.
Alternatively, you can select multiple files by holding down the Shift key and clicking the files you want to delete, then right-click and select Delete.
Backing Up Screenshots to Google Drive
To ensure you don’t lose important screenshots:
- Open the
Filesapp. - Select the screenshot(s) you want to back up.
- Right-click and choose
Move to>Google Drive.
Screenshots will now be available on any device where you are logged into Google Drive.

Tips and Tricks for Screenshots on Chromebook
Taking and organizing screenshots effectively can be greatly enhanced by employing a few key tips and tricks. Whether you’re editing your images or sharing them, Chromebooks offer multiple features and tools to make the process smooth.
Editing Screenshots with Built-In Tools
Chromebooks come with basic editing tools:
- Open the screenshot with the
Filesapp. - Click the pen icon to crop, rotate, or adjust colors.
Sharing Screenshots Directly From Chromebook
Sharing is straightforward:
- Open the screenshot via the
Filesapp. - Click the
Sharebutton and choose the sharing method (email, Google Drive, Bluetooth, etc.).
Using Third-Party Apps for Enhanced Editing
For more advanced editing, consider apps like:
- Pixlr: Great for detailed edits and enhancements.
- GIMP: A robust open-source image editor.

Troubleshooting Common Screenshot Issues
Occasionally, you may run into issues while taking screenshots. Here’s how to troubleshoot common problems:
Missing Screenshots
If you can’t find your screenshots:
- Ensure you’re looking in the correct folder (
Downloadsby default). - Check the Chromebook’s
TrashorGoogle Drivefor accidentally moved files.
Problems with Taking Screenshots
If no screenshot appears after pressing the keys:
- Restart your Chromebook and try again.
- Ensure your Chromebook is up-to-date by checking for system updates under
Settings.
Conclusion
Understanding how to take, find, and manage screenshots on your Chromebook can streamline your workflow and enhance your productivity. With these tips and techniques, you’ll be capturing and handling screenshots like a pro.
Frequently Asked Questions
How can I customize the folder where my screenshots are saved on my Chromebook?
Go to Chrome settings, search for ‘Save location,’ and select `Change` to pick a new folder.
What do I do if my screenshots aren’t saving?
Ensure you are pressing the correct keys, check your `Downloads` folder or restart your Chromebook to clear any glitches.
Can I take a scrolling screenshot on my Chromebook?
A built-in function for scrolling screenshots isn’t available, but you can use extensions like `Awesome Screenshot` for this purpose.


