Introduction
Leveraging OneNote on a tablet offers numerous benefits for note-taking, studying, and organizing digital content. However, as intuitive as OneNote is, moving pictures within your notes, especially in tablet mode, can sometimes be a bit challenging. Ensuring that your notes are not only comprehensive but also visually appealing often requires the ability to manipulate images seamlessly.
This blog will guide you through the various techniques of moving pictures in OneNote when using a tablet. By the end of this article, you’ll have a clear understanding of both basic and advanced picture management strategies, efficient note-taking tips, common troubleshooting solutions, and best practices for keeping your notes organized.
Understanding OneNote on a Tablet
OneNote is Microsoft’s digital note-taking app that is equipped with a plethora of features designed to enhance productivity. When used on a tablet, OneNote offers a unique blend of portability and functionality, making it a favorite among students, professionals, and creatives alike.
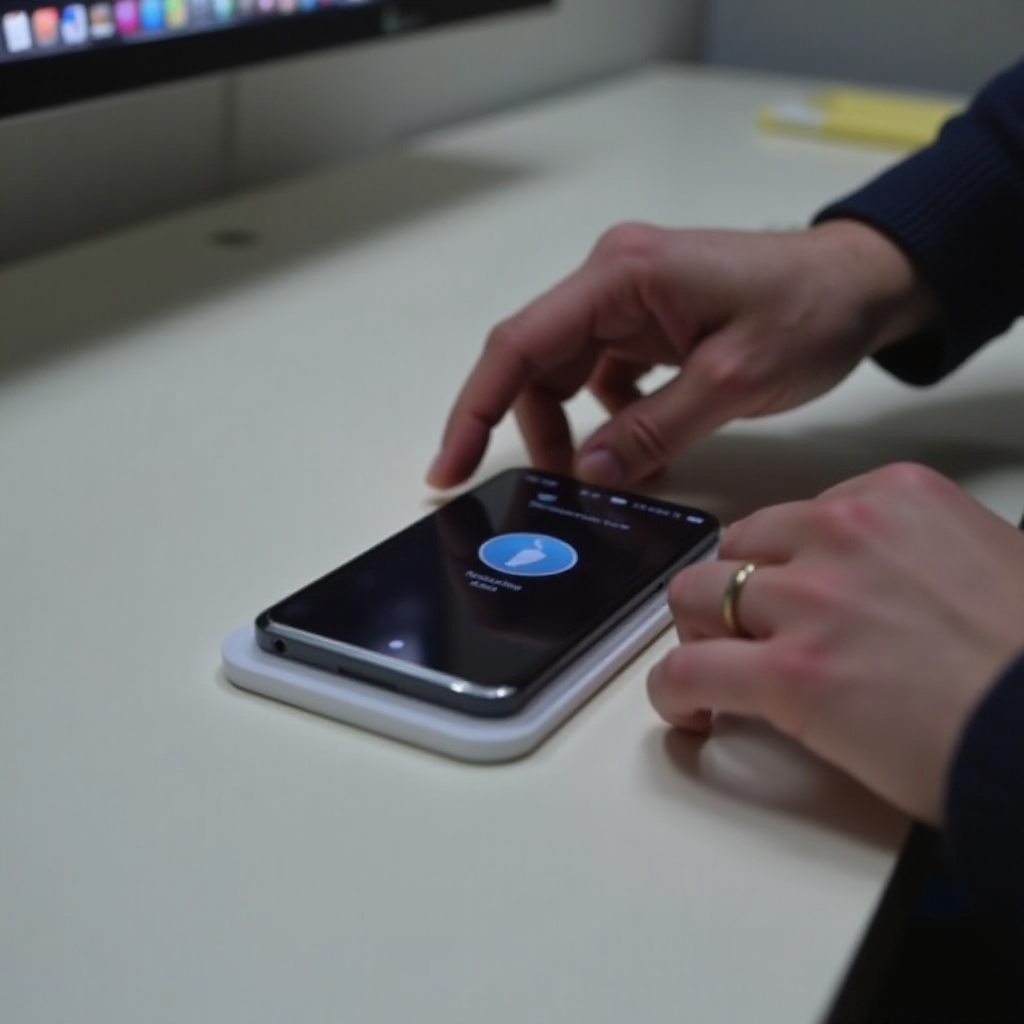
In tablet mode, OneNote allows you to jot down quick notes, draw diagrams, or map out ideas using just your fingertips or a stylus. The tactile experience of moving, resizing, and organizing content on a touchscreen provides a level of interactivity that desktops and laptops cannot fully replicate. Furthermore, features like handwriting-to-text conversion and the ability to embed multimedia content make the tablet version of OneNote a versatile tool.
Understanding the fundamental functionalities of OneNote on a tablet is crucial before diving into more specific tasks, such as moving pictures. By mastering the basics, you pave the way for more efficient and sophisticated content management on your tablet device.
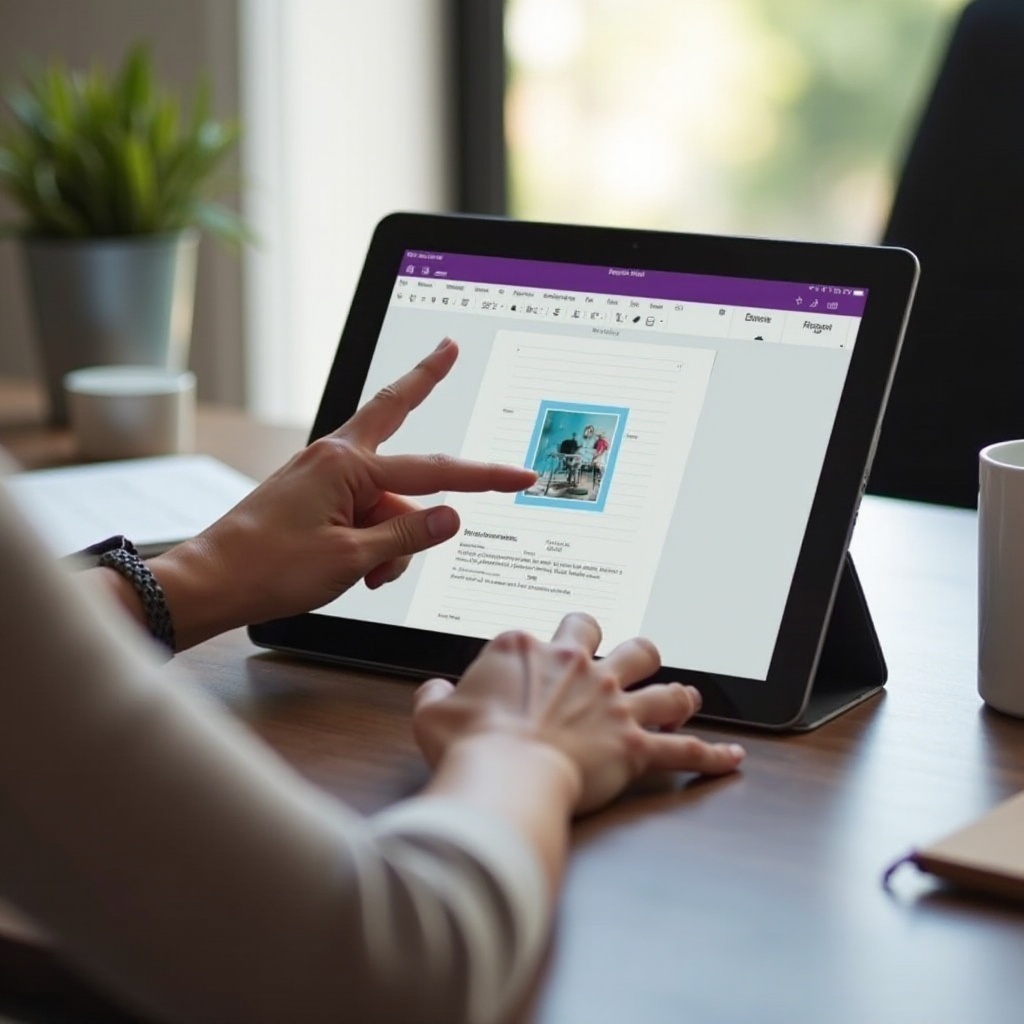
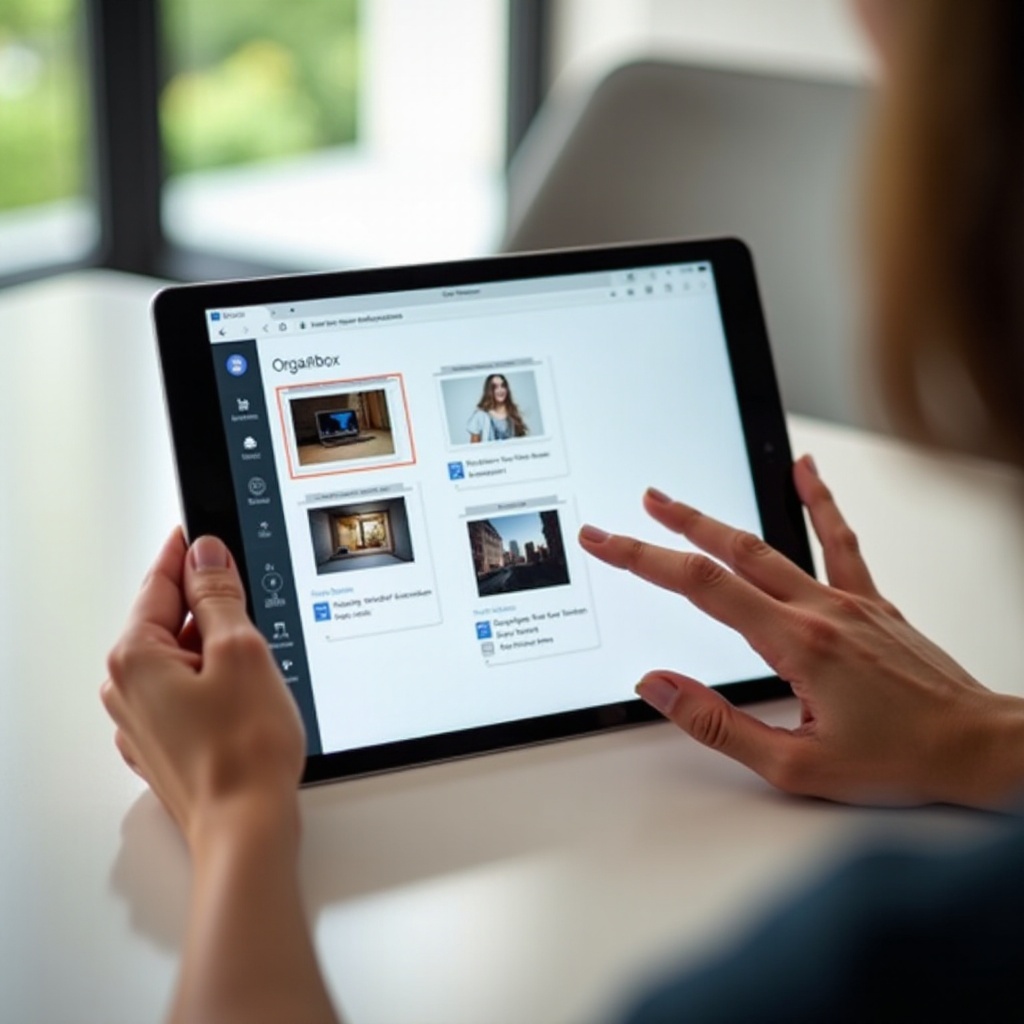
Basic Techniques for Moving Pictures
To begin with, here are some straightforward steps to move pictures in OneNote while in tablet mode:
- Inserting an Image:
- Tap on the area of the page where you want to place the image.
- Select the ‘Insert’ tab from the menu.
-
Choose either ‘Pictures’ if you’re adding from your device, or ‘Camera’ to capture a new image.
-
Selecting the Image:
- Use your finger or stylus to tap on the image you need to move.
-
A selection box with handles will appear around the image.
-
Dragging the Image:
- Press and hold the image with your finger or stylus.
- Drag it to the desired location on the page.
-
Release the image to drop it into the new position.
-
Adjusting the Layout:
- If necessary, tap on the handles to resize the image.
- Use the alignment gridlines that appear to ensure precise placement.
This simple procedure should be sufficient for most basic image-handling tasks within OneNote on a tablet. However, if you need more control and flexibility, read on for advanced techniques.
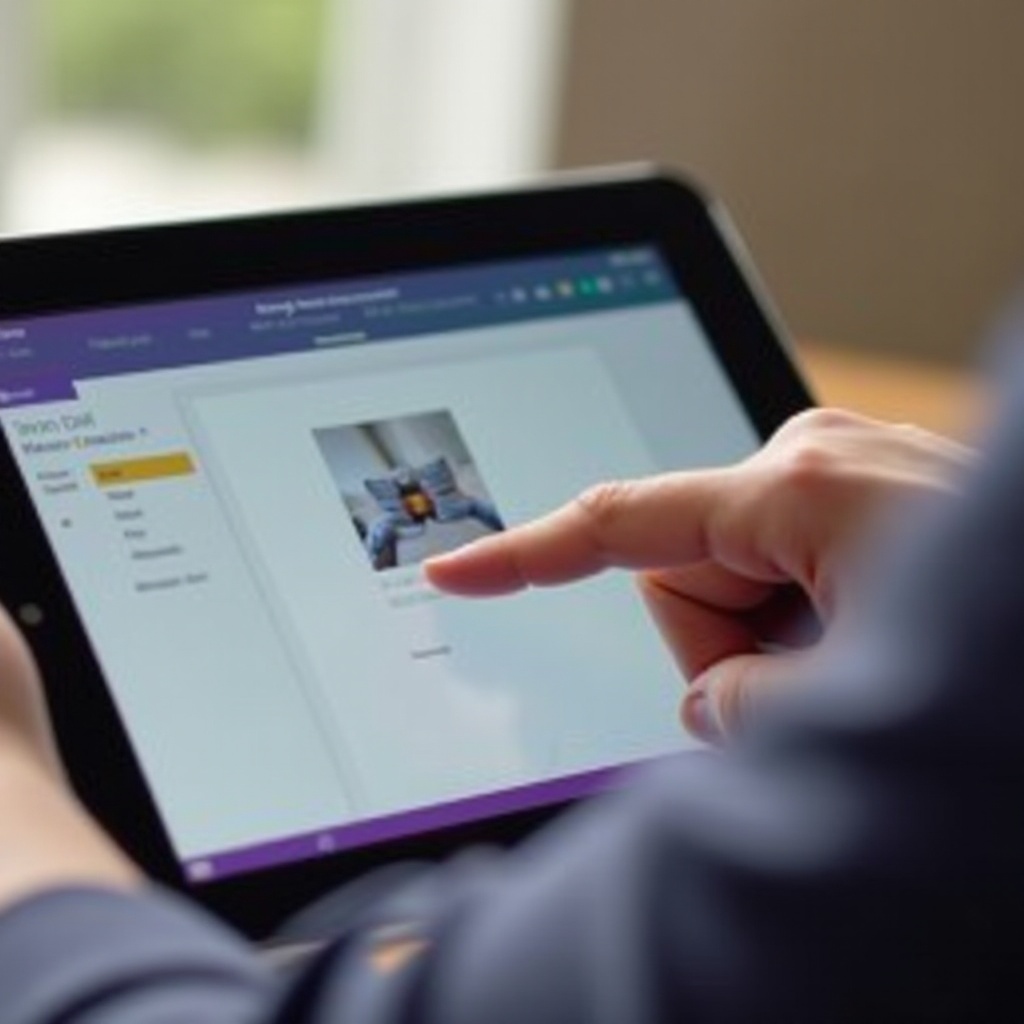
Advanced Picture Management
Managing images in OneNote effectively often requires more than just moving them around. Here are some advanced techniques for handling pictures in tablet mode:
- Layering and Overlapping Images:
- Tap and hold the image to bring up the context menu.
-
Use the ‘Bring Forward’ or ‘Send Backward’ options to layer images appropriately.
-
Using Containers:
- OneNote organizes content in containers. You can move an image into a specific container, helping in better organization.
-
Simply drag the image into the container, and it will be grouped with the container’s text and other elements.
-
Grouping Images and Text:
- Select multiple images and text boxes.
- Tap and hold to open the context menu, then choose ‘Group’.
-
This allows you to move the grouped objects as a single unit.
-
Linking Images:
- Embed hyperlinks into images for interactive notes.
- Tap the image to select it, then use the Insert tab to add a link.
These advanced techniques provide you with greater control over your visual content, making your notes not only informative but also aesthetically organized.
Tips for Efficient Note-Taking
Effective note-taking is more than just compiling information. Here are some essential tips to enhance your note-taking experience in OneNote on a tablet:
- Use the Pen and Highlighter Tools:
- Switch between different pen and highlighter tools to emphasize and categorize content visually.
-
Use colors to differentiate between types of notes, such as action items and reminders.
-
Leverage Templates:
-
OneNote offers various templates that can save you time while ensuring consistency in your notes.
-
Handwriting to Text Conversion:
-
Make use of the handwriting-to-text feature to convert your scribbles into searchable text.
-
Tagging:
-
Tags help prioritize and categorize notes. Assign tags like ‘Important’, ‘To-Do’, or ‘Question’ for easy reference.
-
Utilize Page and Section Features:
- Organize your notes using different sections and pages. Group related content for reduced clutter.
By integrating these tips, you ensure that your OneNote usage is effective and efficient, making your tablet experience all the more satisfying.
Troubleshooting Common Issues
Despite the user-friendly nature of OneNote, you might encounter some issues. Here’s how to solve common problems:
- Images Not Moving:
- Ensure that the image is selected appropriately. Sometimes, tapping elsewhere on the screen and selecting the image again can resolve the issue.
-
Check if the note page is accidentally locked or set to read-only mode.
-
Image Distortion:
- If images get distorted, verify that you are using the resizing handles correctly.
-
Maintain the aspect ratio by dragging the corners of the image rather than the sides.
-
Laggy Performance:
- Too many large images can slow down OneNote. Reduce image resolution or divide the content across multiple pages.
Understanding these troubleshooting tips can help preserve a seamless note-taking experience.
Best Practices for Organizing Your Notes
Organizing your notes effectively ensures that you can quickly find the information you need. Here’s how to keep your notes well-organized in OneNote:
- Consistent Naming Conventions:
-
Use consistent and clear naming conventions for sections and pages.
-
Section Groups:
-
Create section groups for related content. For example, a section group for each project or subject.
-
Frequent Backups:
- Regularly back up your OneNote notebooks to prevent data loss.
Adherence to these best practices will keep your digital workspace tidy and enhance productivity.
Conclusion
Mastering the art of moving pictures in OneNote on a tablet requires understanding both the basic and advanced techniques for efficient note management. Incorporating these methods into your workflow not only enhances your productivity but also makes your notes more visually appealing and organized.
Frequently Asked Questions
How can I resize pictures in OneNote on a tablet?
To resize pictures, select the image, tap on the handles at the corners, and drag to resize while maintaining the aspect ratio.
What should I do if my pictures are not moving correctly in OneNote?
Make sure the image is selected correctly, the note page is not locked, and try re-selecting the image.
Can I use a stylus to move pictures in OneNote tablet mode?
Yes, a stylus can be used to move pictures, offering more precision and control compared to using your fingers.