Introduction
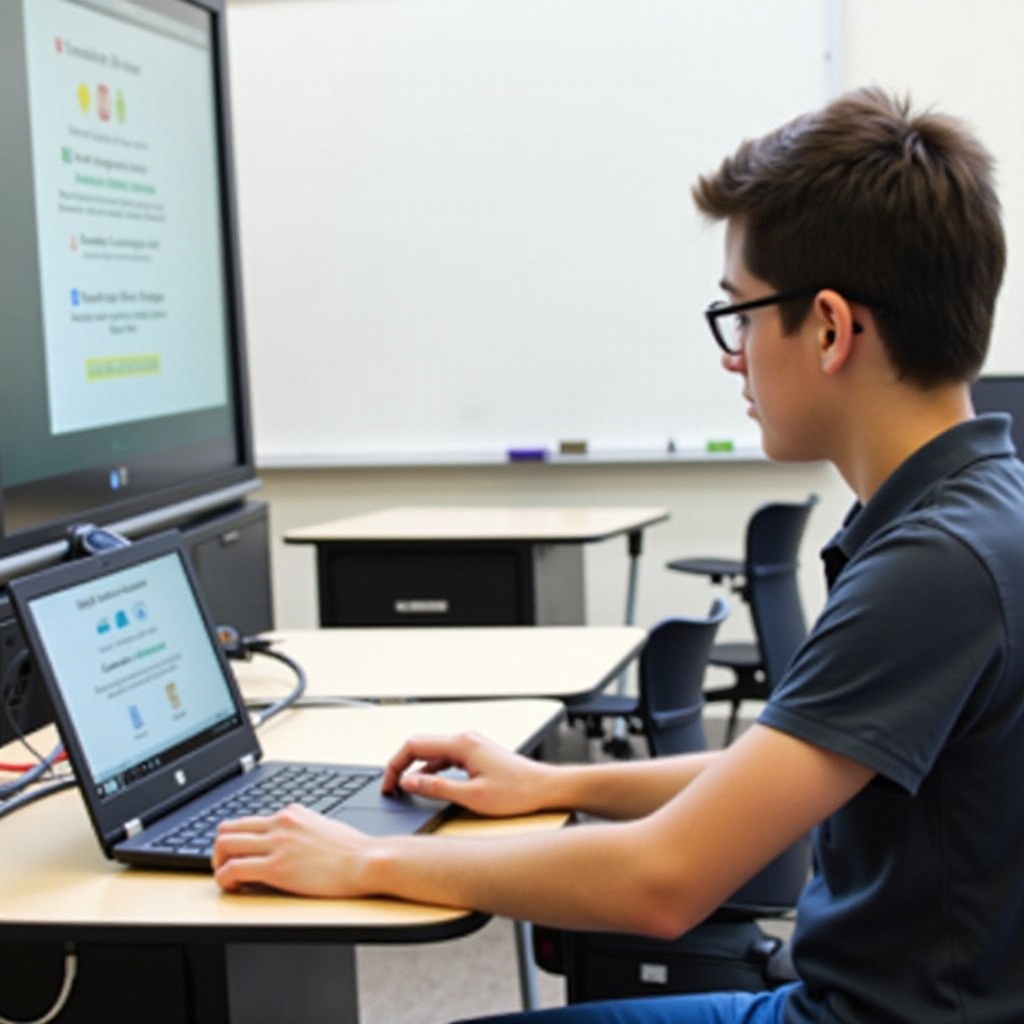
Using a school Chromebook for various tasks becomes smoother if you know how to manage its screen settings. This guide will cover everything you need to optimize your device’s screen performance. From adjusting brightness to screen recording and connecting external displays, we ensure you have all the information to make the best use of your Chromebook. Let’s dive into the details and make your Chromebook experience efficient and hassle-free.

Understanding Your Chromebook’s Screen Settings
Managing your Chromebook’s screen is crucial for a comfortable user experience. Let’s start by exploring how you can access and adjust essential settings.
Accessing the Settings Menu
To access the settings menu:
- Click on the time in the bottom-right corner of your screen.
- Select the gear icon to open ‘Settings.
- Navigate to ‘Device’ and then ‘Displays’ to find screen settings.
Adjusting Brightness and Resolution
To change brightness:
1. Press the brightness up or down keys on your keyboard.
For resolution:
1. Go to ‘Settings.
2. Click ‘Device’ and then ‘Displays.
3. Adjust the resolution using the slider.
Higher resolutions offer better visuals but might reduce performance. Choose a balance that suits you.
Managing Screen Orientation
For changing screen orientation:
1. Press ‘Ctrl + Shift + Refresh’ (the circular arrow key).
2. Keep pressing this combination until the screen rotates as desired.
Now that we’ve covered basic screen settings, let’s move on to how you can capture screens and record activities.
Using Built-In Screen Recording and Screenshots
Your Chromebook has built-in tools for taking screenshots and recording your screen, which can be highly beneficial for creating tutorials or saving important information.
How to Take Screenshots: Step-by-step Guide
To capture your screen:
1. Press ‘Ctrl + Show Windows’ (the rectangle with two lines icon) to take a screenshot of the entire screen.
2. For a partial screenshot, press ‘Ctrl + Shift + Show Windows,’ then drag to select the area you want to capture.
Screenshots automatically save to your ‘Downloads’ folder.
Utilizing the Built-In Screen Recording Feature
Chromebooks also offer screen recording:
1. Press ‘Ctrl + Alt + Show Windows.
2. Select ‘Screen Recording’ from the menu.
3. Choose to record the entire screen or just a part of it.
Tips for Effective Screen Recording for Presentations and Tutorials
Some tips to enhance your recordings:
– Plan your content beforehand.
– Close unnecessary tabs or applications.
– Use an external microphone for better sound quality if necessary.
– Review and edit your recordings with software like ‘Screencastify’ if needed.
After you master screen capturing and recording, it’s essential to understand how to expand your screen usage through connectivity options.
Connectivity and External Display Options
Enhancing your Chromebook experience can include connecting it to an external monitor or using wireless display technologies.
Connecting to an External Monitor: Requirements and Setups
To connect to an external monitor:
1. Use an HDMI or USB-C to HDMI adapter to connect your Chromebook to the monitor.
2. Navigate to ‘Settings,’ click ‘Device,’ then ‘Displays’ to configure the external display.
3. Check the ‘Mirror display’ box if you want the same content on both screens.
Using Chromecast or Other Wireless Display Options
For wireless display:
1. Ensure your Chromebook and Chromecast are on the same Wi-Fi network.
2. Click the time in the bottom-right corner and select the ‘Cast’ option.
3. Choose your Chromecast device from the list.
Troubleshooting Display Connectivity Issues
If you face issues, try these steps:
– Reconnect cables and adapters.
– Restart your Chromebook.
– Make sure the external monitor is set to the correct input source.
– Update your Chromebook to the latest version.
With your displays managed, it’s also vital to understand the accessibility features that can aid in better screen usage.
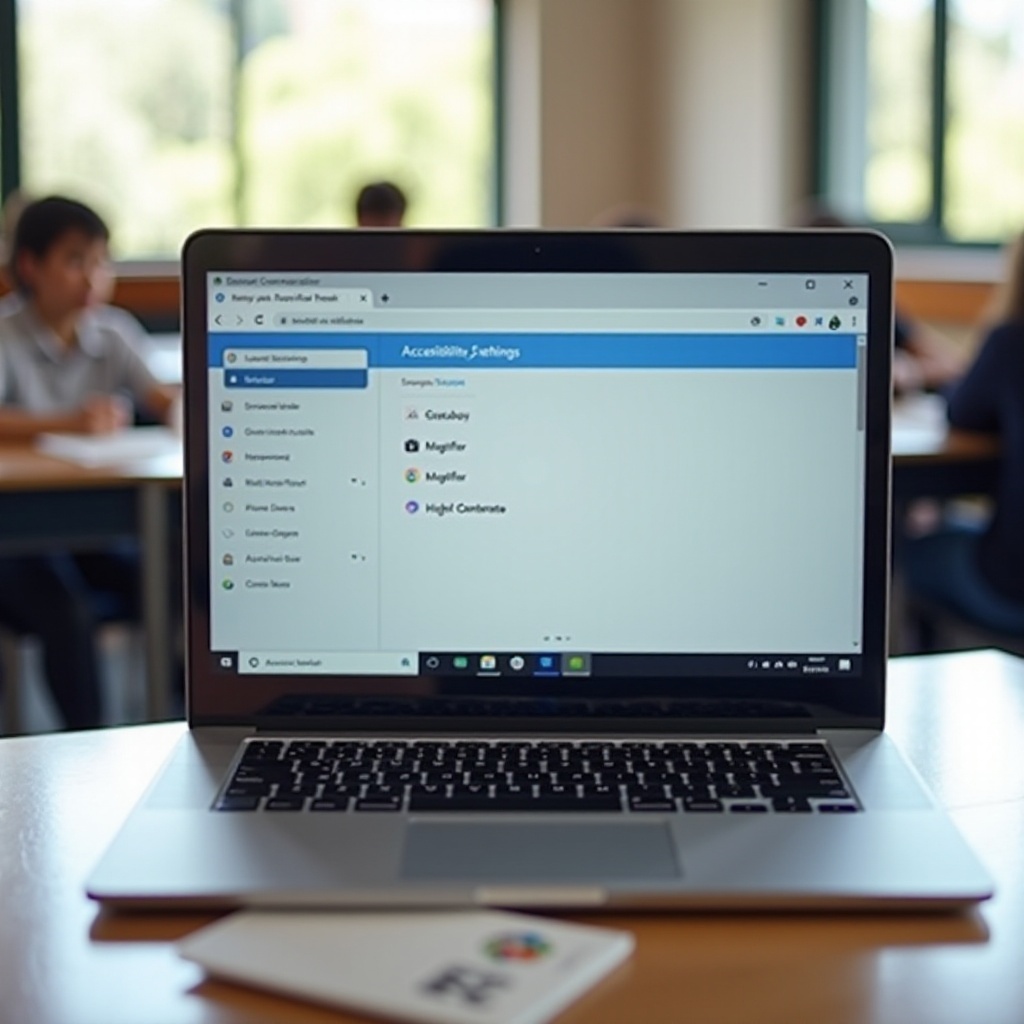
Accessibility Features
Chromebooks come equipped with various accessibility features that cater to different needs and preferences.
Zoom and Magnification Options
To zoom:
– Press ‘Ctrl + Plus’ to zoom in.
– Press ‘Ctrl + Minus’ to zoom out.
– Press ‘Ctrl + 0’ to reset zoom.
For screen magnification:
1. Go to ‘Settings.
2. Select ‘Advanced,’ click ‘Accessibility,’ then ‘Manage accessibility features.
3. Enable ‘Docked magnifier’ or ‘Full-screen magnifier’ based on your need.
High Contrast Mode and Color Inversion
To enhance visibility:
1. Go to ‘Settings.
2. Select ‘Advanced’ and then ‘Accessibility.
3. Toggle ‘High contrast mode’ or ‘Color inversion.
Keyboard Shortcuts for Screen Management
Useful shortcuts:
– ‘Ctrl + Shift + =’ enables Docked Magnifier.
– ‘Ctrl + Search + M’ enables Full-Screen Magnifier.
– ‘Ctrl + Alt + Shift + H’ toggles high contrast mode.
Incorporating these settings ensures a more accessible and enjoyable user experience. Let’s wrap everything up with a summary.
Conclusion
Mastering your school Chromebook’s screen settings enhances productivity and ease of use. Whether it’s adjusting brightness, taking screenshots, or connecting to external displays, these tips ensure you can navigate and utilize your Chromebook efficiently. Explore the built-in features to make the most out of your device.
Frequently Asked Questions
How do I reset my Chromebook screen settings to default?
Navigate to ‘Settings,’ go to ‘Device,’ select ‘Displays,’ and click ‘Reset to default.’ This will restore your original screen settings.
Can I record my screen with audio on a school Chromebook?
Yes, you can include audio when using the built-in screen recording feature or by using extensions like ‘Screencastify.’
How can I improve the visibility of my Chromebook screen in bright light?
Increase the brightness by using the brightness keys or go to ‘Settings’ > ‘Device’ > ‘Displays’ and adjust. You can also use an anti-glare screen protector.