Introduction
Taking a screenshot on an Apple tablet such as an iPad is a useful skill that can help you capture and share information quickly. Whether you’re looking to save a part of a webpage, an app interface, or a memorable conversation, screenshots make it easy.
This guide will cover various methods to take screenshots on your Apple tablet, edit them, and share them seamlessly. Additionally, we’ll address common issues and troubleshoot solutions for any problems you might encounter.

Standard Screenshot Methods for iPads
Apple tablets offer different methods for taking screenshots based on whether your device has a Home button or not.
Taking Screenshots with the Home Button
- Locate the buttons: Press and hold the Home button and the Sleep/Wake button simultaneously.
- Quick press: Briefly press both buttons at the same time.
- Screenshot captured: A thumbnail will appear in the lower-left corner of your screen.
Having a physical Home button makes it straightforward. But what if your device doesn’t have this button?
Taking Screenshots without the Home Button
- Locate the buttons: Press and hold the Top button and either of the Volume buttons simultaneously.
- Quick press: Briefly press both buttons at the same time.
- Screenshot captured: A thumbnail will appear in the lower-left corner of your screen.
Regardless of the button types, the principle remains the same: use two specific buttons to perform a quick screenshot.
Utilizing AssistiveTouch for Screenshots
AssistiveTouch is a helpful feature on Apple tablets, offering an alternative way to take screenshots, especially when physical buttons are not working or aren’t easily accessible. AssistiveTouch provides a virtual home button on-screen, giving you control over various features, including screenshot options.
Enabling AssistiveTouch
- Open Settings: Navigate to Settings > Accessibility > Touch > AssistiveTouch.
- Toggle AssistiveTouch: Enable AssistiveTouch by toggling the switch to the ‘On’ position.
A small AssistiveTouch menu button will appear on your screen, providing access to various functions.
Taking Screenshots with AssistiveTouch
- Open AssistiveTouch menu: Tap the AssistiveTouch menu button.
- Navigate to Device: Select ‘Device’ from the menu options.
- Take Screenshot: Tap ‘More’ and then ‘Screenshot.
This method is particularly useful for users who face difficulties pressing physical buttons simultaneously.

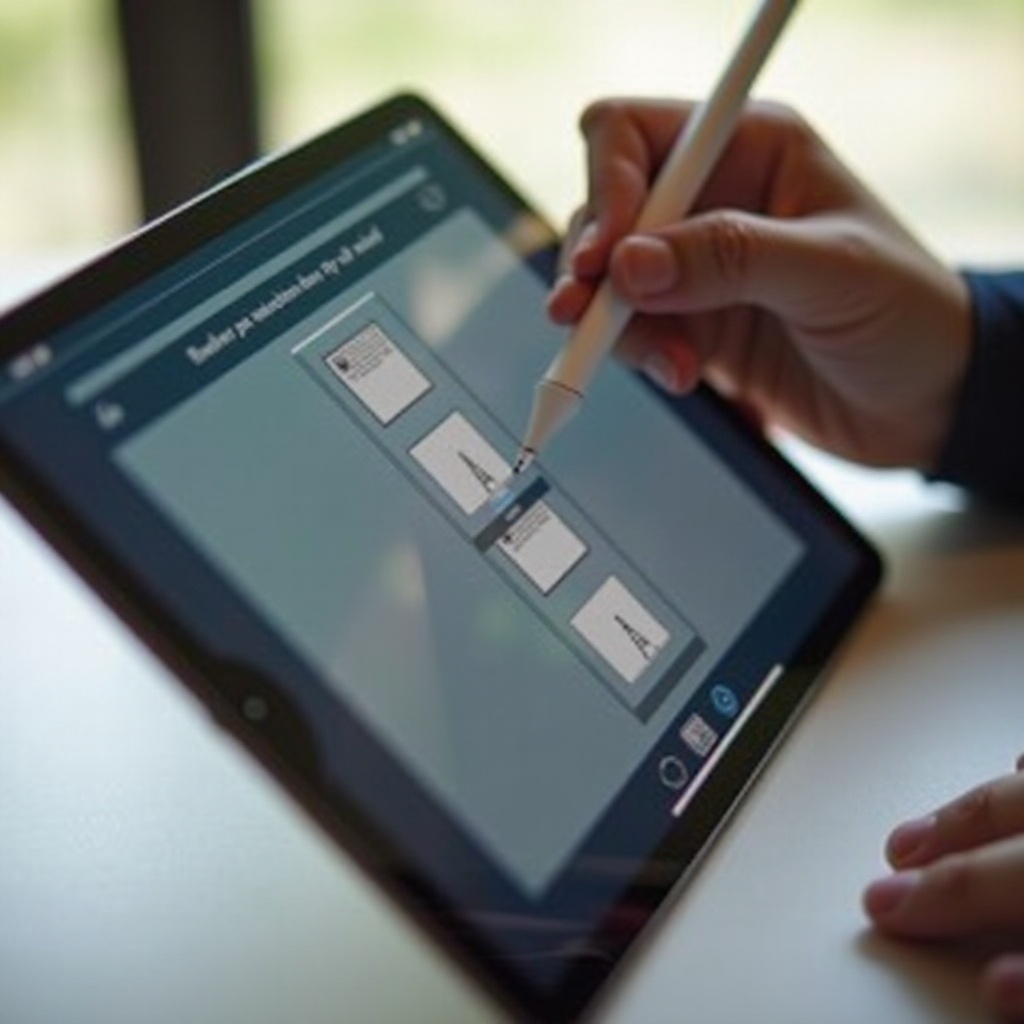
Using Apple Pencil for Taking Screenshots
If you have an Apple Pencil, you can also use it to take screenshots seamlessly. The Apple Pencil provides a handy alternative for those who use it frequently for other tasks.
Step-by-Step Guide for Apple Pencil Screenshots
- Swipe diagonally: Drag your Apple Pencil from the bottom corner towards the center of the screen.
- Capture and edit: The screenshot is captured and immediately opens in the Markup editor.
This technique is convenient for those who frequently use the Apple Pencil and want quick access to screenshots and markups.
Editing and Sharing Screenshots
Once you’ve captured your screenshot, you’ll likely want to edit or share it.
Using Markup Tools
- Edit immediately: Tap the thumbnail that appears in the lower-left corner after taking a screenshot.
- Access Markup tools: Use the Markup tools to annotate or edit your screenshot.
- Save your changes: After editing, tap ‘Done’ and choose ‘Save to Photos’ or ‘Save to Files.
The built-in Markup tools offer easy access to editing functionalities without needing third-party apps.
Sharing Your Screenshots
- Open Photos app: Navigate to the Photos app and select the screenshot you wish to share.
- Tap the Share icon: Tap the Share icon at the bottom left of the screen.
- Choose sharing option: Select your preferred sharing method, such as Messages, Mail, or social media platforms.
This process ensures you share your screenshots efficiently with desired contacts or platforms.
Troubleshooting Common Issues
Sometimes, taking a screenshot on your Apple tablet might not go as planned. Here’s how to address some common issues.
Screenshot Not Working: Causes and Solutions
- Check for restrictions: In Settings, make sure there are no restrictions preventing screenshots.
- Restart your device: Reboot your tablet to resolve minor software glitches.
- Update iOS: Ensure your iOS is up-to-date, as software updates often include bug fixes.
Improving Screenshot Quality
- Check display settings: Ensure your screen’s brightness and resolution are set high enough.
- Avoid external factors: Clean your screen to avoid dirt or smudges that may affect screenshot clarity.
Being aware of these common issues helps in maintaining smooth functionality and better capture quality.
Conclusion
Taking a screenshot on an Apple tablet is simple once you know the steps and the tools available. Whether you’re using common button combinations, AssistiveTouch, or your Apple Pencil, there are methods suitable for every user. Knowing how to edit and share these screenshots further enhances their utility.
Frequently Asked Questions
Can I take a screenshot using Siri on my iPad?
As of now, taking a screenshot using Siri voice commands is not supported. Siri can perform various functions, but capturing a screenshot requires physical input or AssistiveTouch.
How can I take a full-page screenshot on an Apple tablet?
To take a full-page screenshot, follow these steps:
1. **Open Safari**: Navigate to the webpage you want to capture.
2. **Take a screenshot**: Use any of the methods discussed earlier to capture the screenshot.
3. **Tap the thumbnail**: In the lower-left corner, tap the thumbnail.
4. **Select ‘Full Page’**: This option appears at the top of the screen in the Markup editor.
What third-party apps are useful for taking screenshots on an Apple tablet?
Several third-party apps can enhance screenshot capabilities:
1. **Awesome Screenshot**: Offers comprehensive screenshot and screen recording features.
2. **Skitch**: Allows for easy annotation and sharing of screenshots.
3. **Snapseed**: A powerful photo editor that provides detailed editing tools for your screenshots.