Introduction
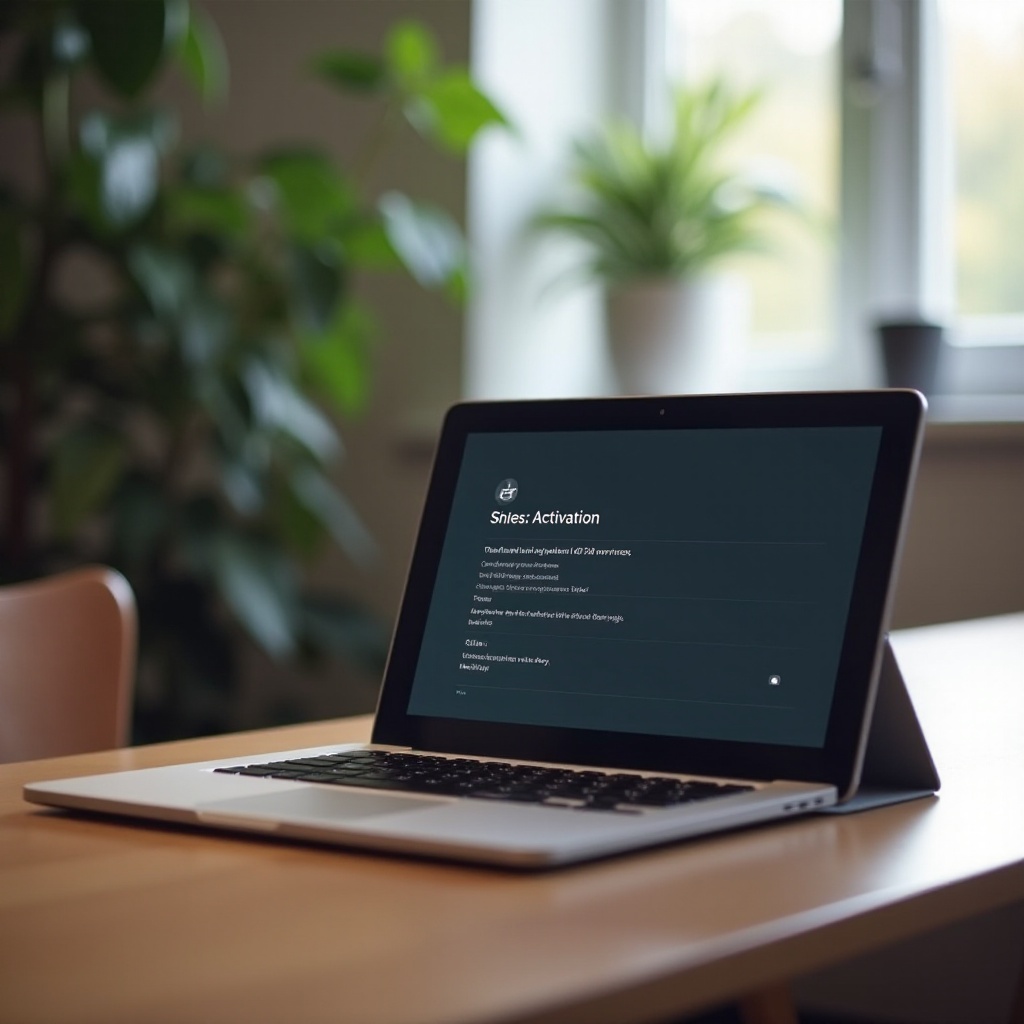
Activating Developer Mode on your Lenovo Chromebook opens up a whole new world of possibilities. From installing custom firmware to experimenting with operating systems, Developer Mode empowers you to break free from the default restrictions. However, as promising as it sounds, enabling Developer Mode comes with significant responsibilities and some risk. That’s why this guide will walk you through the steps to safely and efficiently turn on Developer Mode on your Lenovo Chromebook.
Understanding Developer Mode
Before diving into the process, it’s critical to understand what Developer Mode is. Developer Mode on a Chromebook essentially allows users to gain deeper access to the system. It enables users to modify the Chromebook’s software, providing the ability to install Linux, run more complex tasks, and unlock advanced settings that are otherwise restricted.
However, enabling Developer Mode also disables some security features and wipes all local data. Therefore, you should weigh the benefits and drawbacks before proceeding. Essentially, Developer Mode is designed for advanced users who are comfortable with potential risks, including vulnerability to malware and the voiding of any software warranties.
Preparation Before Enabling Developer Mode
Before enabling Developer Mode, some preparatory steps ensure a smooth transition and minimize the risk of data loss or other issues.
- Backup Your Data: Activating Developer Mode will erase all local data, including downloaded files and installed applications. Ensure you back up any critical data to an external hard drive or cloud storage.
- Charge Your Chromebook: The process can take some time, and running out of battery midway can be problematic. Ensure your Chromebook is fully charged to avoid any interruptions.
- Understand the Risks: Carefully read through the Lenovo user manual and other resources about Developer Mode implications. Some features, like verified boot, will be disabled, which might affect the security of your system.
- Stable Internet Connection: A stable Wi-Fi connection will be beneficial, primarily if you need to reinstall or download any applications post-activation.
With the preparations complete, let’s dive into the step-by-step process to enable Developer Mode.
Step-by-Step Guide to Enable Developer Mode
Enabling Developer Mode on your Lenovo Chromebook consists of several steps. Follow these instructions carefully:
Entering Recovery Mode
- Turn Off Your Chromebook: If your Chromebook is on, shut it down completely.
- Entering Recovery Mode: Press and hold the ‘Esc’ and ‘Refresh’ keys simultaneously, then press the ‘Power’ button. Release the ‘Power’ button when the screen turns on but continue to hold the ‘Esc’ and ‘Refresh’ buttons until you see the recovery screen.
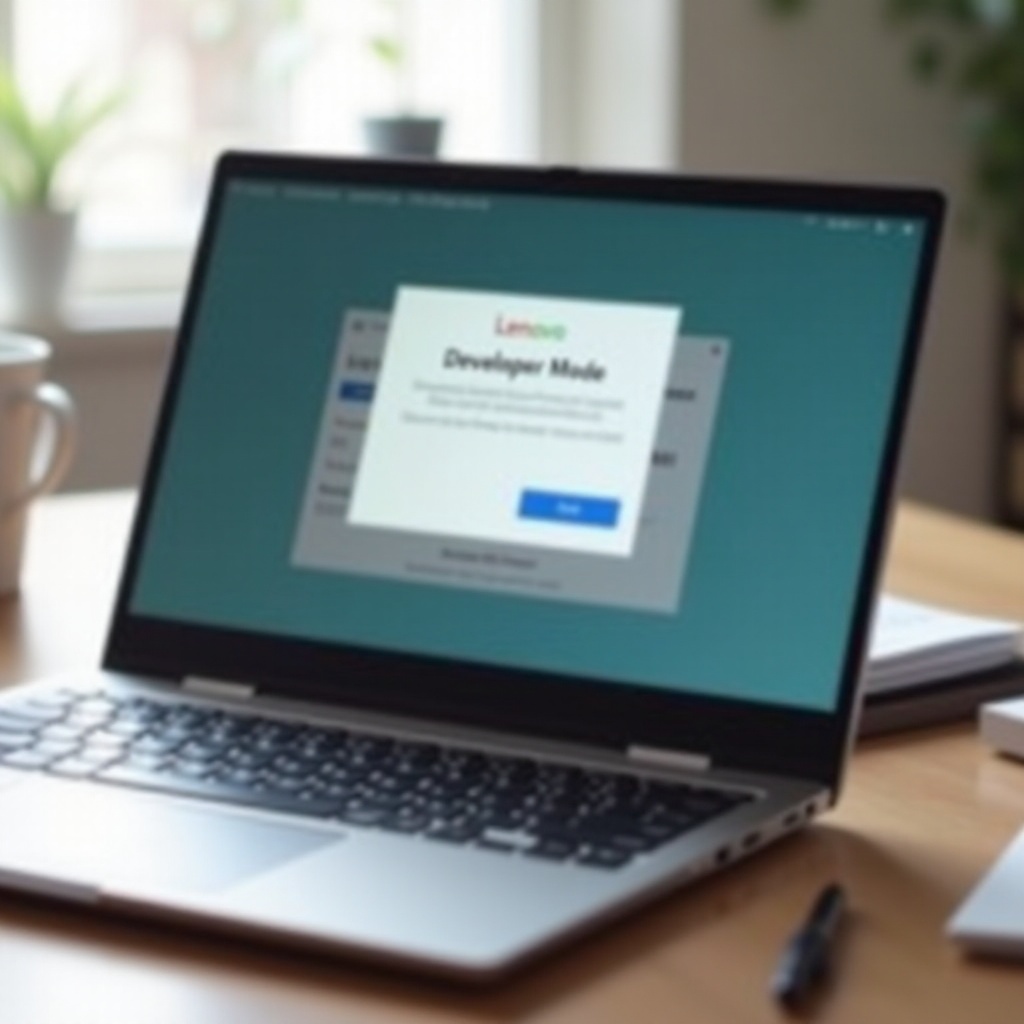
Activating Developer Mode
- Initiate Developer Mode: In the recovery screen, you will see a yellow exclamation mark and a message. Press ‘Ctrl’ + ‘D’ together to start the process.
- Confirmation: The system will prompt you to press ‘Enter’ to proceed. Press ‘Enter’ to confirm.
- Initialization: Your Chromebook will begin transitioning to Developer Mode. This process can take about 10-15 minutes and will erase all local data. After completion, the Chromebook will reboot.
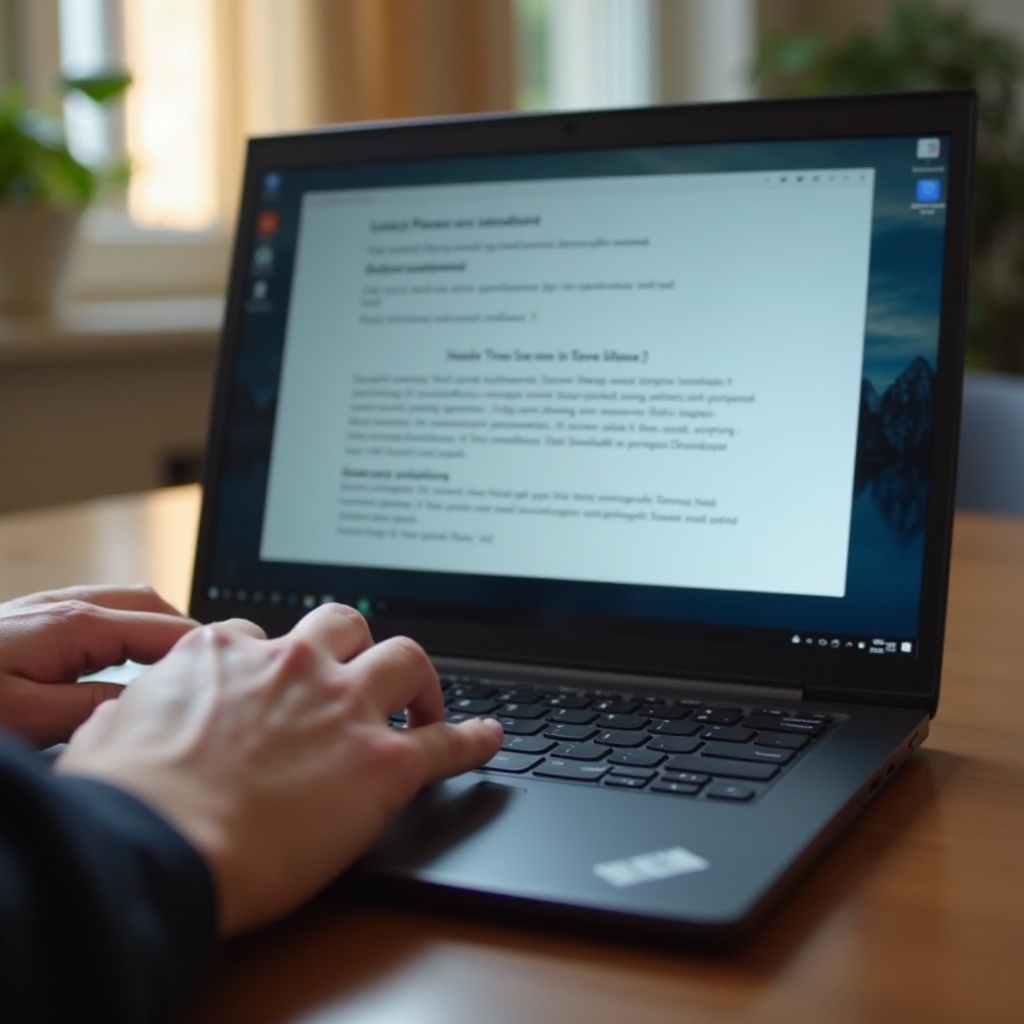
Initial Setup After Enabling Developer Mode
- Boot Up: As the Chromebook restarts, it will display a warning screen saying ‘OS verification is off.’ You will still need to press ‘Ctrl’ + ‘D’ to continue using the device.
- First-time Setup: Follow the on-screen instructions to set up your system as if it were new. This includes connecting to Wi-Fi, logging into your Google account, and re-syncing your settings.
Post-Activation Tips
After successfully enabling Developer Mode, there are a few tips to keep in mind for a seamless experience:
- Reinstall Essential Applications: Any pre-installed apps or extras that were wiped out need reinstallation.
- Enhanced Security Measures: Since Developer Mode bypasses some security features, consider using antivirus software and be vigilant about the websites you visit and the files you download.
- Access Developer Settings: You can now explore the new developer options available in your settings menu. Be cautious while making changes, as some settings can significantly impact your Chromebook’s performance and stability.
Troubleshooting Common Issues
Even with careful following of instructions, you might encounter some common issues:
- Boot Loop: If your Chromebook enters a boot loop, try turning off the device and repeating the Developer Mode activation steps.
- Failed to Enter Recovery Mode: Ensure that you are correctly entering the button combination and holding the keys as instructed. If the device still does not enter recovery mode, consult the Lenovo support page.
- Warning Screen Reappearance: You will continually encounter the “OS verification is off” warning each time the Chromebook boots. Press ‘Ctrl’ + ‘D’ to bypass this screen. This is normal for Developer Mode.
Conclusion
Activating Developer Mode on your Lenovo Chromebook is an empowering step that unlocks various advanced functionalities. Although it does come with certain risks and responsibilities, following the steps and tips outlined in this guide should give you a smooth transition into Developer Mode. Whether you’re a developer looking to dive deeper into Chrome OS or an advanced user wanting more control, Developer Mode offers numerous exciting possibilities.
Frequently Asked Questions
Does Enabling Developer Mode Void My Warranty?
Enabling Developer Mode itself should not void your warranty. However, alterations or custom firmware installations that damage the device could potentially affect your warranty coverage.
Can I Disable Developer Mode Once Enabled?
Yes, you can disable Developer Mode at any time by performing a factory reset, which will restore the original Chrome OS and re-enable the default security features.
Is it Safe to Run My Daily Tasks in Developer Mode?
While it is generally safe to use your Chromebook in Developer Mode, the reduced security measures mean you’re more susceptible to attacks. Use caution, download trusted applications, and avoid unsafe websites.