Installing a video doorbell becomes easier when novices follow straightforward instructions. Preparation, wire inspections, appropriate positioning, and meticulous setup all have an impact on performance. Battery and wired models demand distinct methods, yet both thrive with attention to detail. The process is completed by using strong WiFi and correctly setting up the app. Taking time during installation avoids potential problems and saves time later. With simple tools and patience, most people can successfully install a video doorbell. A competent installation provides clear video, quick warnings, and trustworthy security without causing continuous annoyance or requiring expert help, while also boosting home awareness and everyday ease for first-time users.
What Should You Prepare Before Installing a Video Doorbell?
Tools, Equipment, and Basic Installation Requirements
Get the necessary equipment before installation to prevent delays. A screwdriver, drill, wall anchors, and installation screws are often required for video doorbells. Voltage testers are needed for wired systems, while charging cables may be necessary for battery types. Installing the brand app on a smartphone is necessary for setup. To avoid connection problems, check the WiFi strength close to the entrance. Before you begin, go over the manufacturer’s manual. It saves time to prepare tools, power access, and network information ahead of time. During the initial setup and final testing stages, proper preparation minimizes mistakes, shields surfaces from damage, and enables novices to finish installation without repeated changes or troubleshooting.
Checking Existing Doorbell Wiring and Power Supply
Checking the current doorbell wiring can assist in establishing if a wired or battery-powered device is best suited. Before touching any wires, turn the power off at the breaker. Use a voltage tester to check low voltage, which is normally between 16 and 24 volts. Inspect the wires for damage or corrosion. Older homes may not have appropriate transformers. If the wiring appears to be dangerous, use a battery-powered option. Confirm that the chime system works with the new device. Proper inspections eliminate electrical hazards, safeguard equipment, and assure a steady power supply after installation, with no unexpected shutdowns or performance difficulties that might disrupt everyday usage or lessen long-term dependability concerns.
Choosing the Best Mounting Location and Height
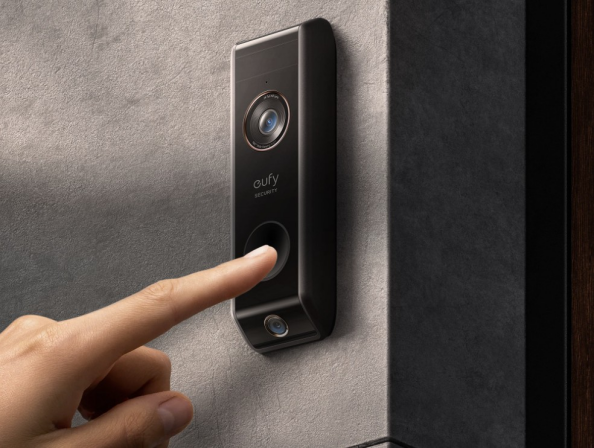
The mounting placement influences video quality, detection accuracy, and user experience. Install the doorbell around forty to forty-eight inches above ground. This height provides an excellent view of faces and parcels. Avoid pointing straight toward sunlight or reflecting surfaces. Angle the camera slightly downward to get greater coverage. Make sure the lens covers the walkway, not the busy streets. Check the WiFi signal strength at the given location. Solid surfaces provide sturdy installation. A well-chosen site decreases blind spots, enhances alerts, and assures consistent footage without the need for repeated repositioning after installation, saving time, avoiding annoyance, and allowing new users to monitor reliably over time.
How Do You Install a Video Doorbell Step by Step?
Installing Battery-Powered Video Doorbells
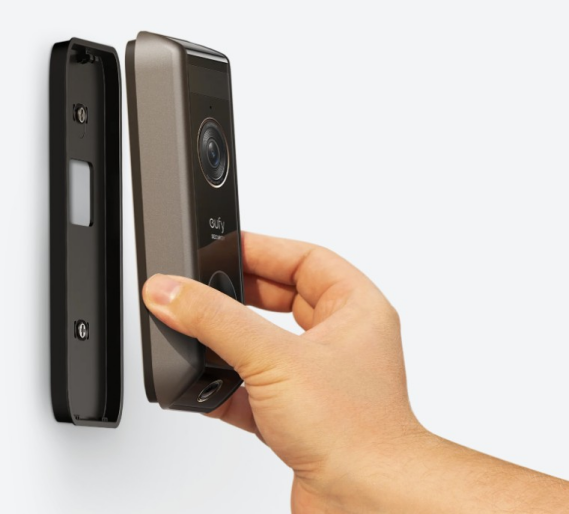
Battery-powered video doorbells are easy to install and do not require any wiring. Begin by completely charging the battery before installation. Anchors may be used to secure the mounting bracket. Slide the doorbell in position until it clicks. Secure it with the given screw. Turn on your smartphone and follow the app prompts. Examine motion detection and video view. Battery models require periodic recharge based on usage. Proper placement and settings assist in extending battery life and maintaining consistent functioning without frequent removal or missed notifications. Users should check battery levels and set alert frequency to balance convenience and security requirements throughout long-term daily operating cycles.
Installing Wired Video Doorbells Safely
Wired video doorbells offer continuous power and reliable functionality. Before you begin, turn off the electricity at the circuit breaker. Remove the old doorbell gently. Connect the old wires to the new terminals. Secure the mounting bracket tightly. Connect the doorbell and restore electricity. Follow the app’s setup procedure. Confirm that the chime works properly. Wired setups need less upkeep. Careful wire handling and appropriate voltage matching avoid damage, safeguard people, and assure constant operation without overheating or system failures. If you are unclear about the wiring circumstances, review documentation or get expert guidance to ensure safety before final installation, testing, and long-term usage.
Connecting the Doorbell to WiFi and Mobile Apps
Connecting the doorbell to WiFi allows for live video, alarms, and storage. If advised, use a solid 2.4 GHz network. Open the mobile app and set up an account. Scan the device’s code to pair it. Follow the on-screen instructions attentively. When setting up, place the phone near the doorbell. Test the live view and audio. Adjust the notification settings. A robust connection guarantees quick notifications, smooth video streaming, and consistent control without delays or reconnection concerns. Check router positioning, firmware updates, and signal strength to ensure consistent performance over time in daily use, especially in busy households with several devices connected.
Conclusion
Installing a video doorbell becomes manageable when beginners follow clear steps. Preparation, wire inspections, appropriate positioning, and meticulous setup all have an impact on performance. Battery and wired models demand distinct methods, yet both thrive with attention to detail. The process is completed by using strong WiFi and correctly setting up the app. Taking time during installation avoids potential problems and saves time later. With simple tools and patience, most people can successfully install a video doorbell. A competent installation provides clear video, quick warnings, and trustworthy security without causing continuous annoyance or requiring expert help, while also boosting home awareness and everyday ease for first-time users.