
Introduction
The iPad offers robust capabilities for document scanning and storage, making it a vital tool for both personal and professional use. Knowing precisely where your scanned documents go on an iPad is essential for effective file management. This comprehensive guide explores the storage locations, techniques for organizing these files, syncing across devices, and troubleshooting any issues that arise.
Understanding iPad Storage
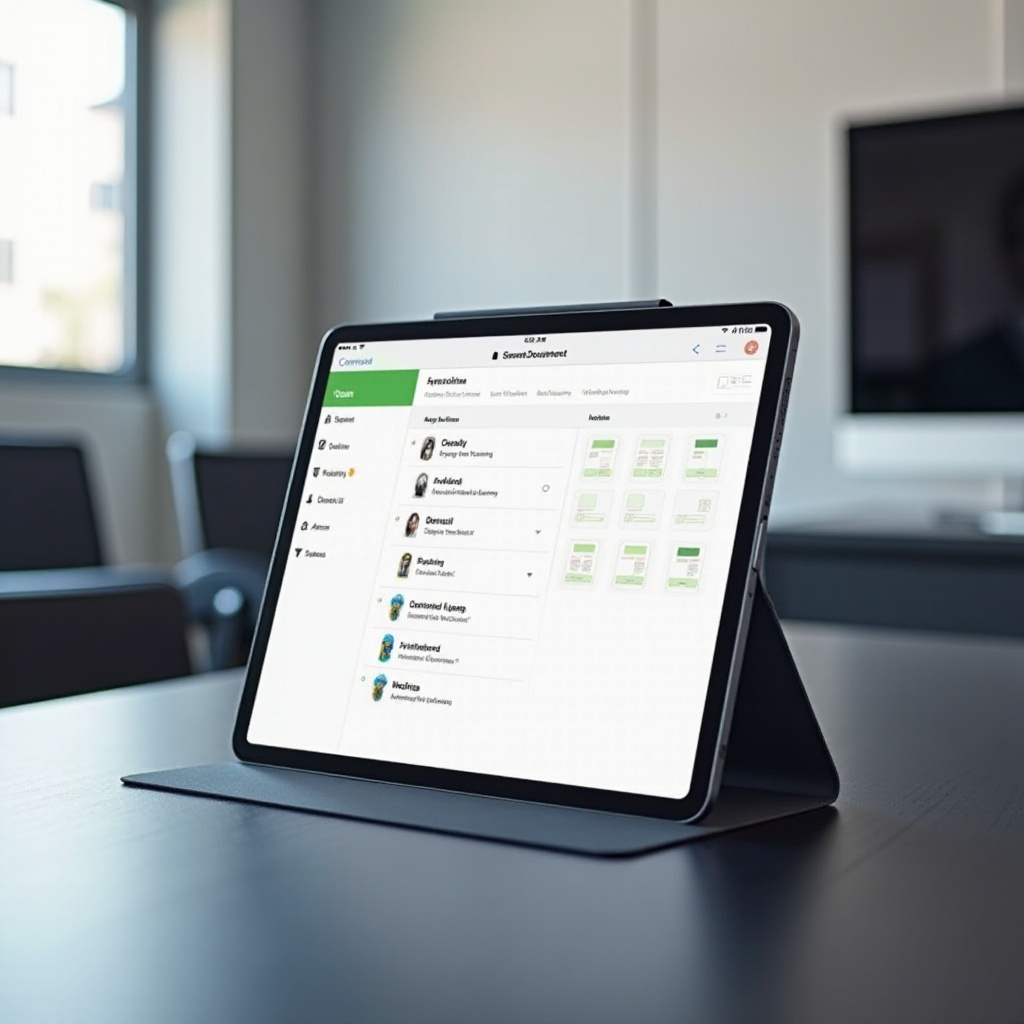
Grasping how the iPad manages storage is crucial for locating and handling scanned documents efficiently. iOS uses the Files app as a central hub for file management, providing easy access to both local and cloud storage options. Different scanning apps might have unique settings, affecting where your scanned files initially reside, so familiarizing yourself with these can enhance your workflow.
Overview of iOS File Management
The Files app on iOS is designed to be intuitive, allowing users to navigate their document storage effortlessly. It integrates well with cloud services such as iCloud, enabling users to manage and access documents seamlessly. Understanding how this system works is the first step in effective document management.
Scanning Apps and Their Settings
Different scanning applications come with various storage settings, influencing the initial storage location on your device. Some may store scans directly in Photos or Files, while others offer settings to customize where documents are stored. By checking these preferences, you can ensure your files are stored according to your needs.
With an understanding of storage, the next step is finding your scanned documents.
Locating Scanned Documents
After documents are scanned, it is important to know where they are stored so you can access them promptly. The storage locations may depend on default settings and app-specific configurations.
Default Storage Locations
Generally, scanned documents are saved in a designated folder within the Files app such as ‘Documents’ or ‘Downloads,’ dictated by the app’s default settings. Check these locations first when searching for your files.
Using the Files App
Locate scanned documents by launching the Files app, where folders are easy to navigate with a built-in search feature. Search for files by name or type to quickly locate the scanned documents you need.
Finding your scanned documents helps set up effective organization practices.
Organizing and Managing Scanned Documents
Once your scanned documents are easily accessible, organizing them effectively saves time and enhances productivity. Logical file systems and tags can streamline your workflow.
File Organization Techniques
Organize your documents into subject-specific folders or project-based directories with clear names for each folder. This aids quick retrieval and keeps your digital workspace tidy.
Utilizing Folders and Tags
Apply tags to files for another layer of searchability. Tags are convenient for clustering related documents without physically moving them. This method is efficient for managing large volumes of data.
Organized files facilitate easy syncing and sharing across devices.
Syncing and Sharing Options
With well-organized documents, sharing and syncing across devices becomes a simple task, enhancing collaborative efforts and ensuring access.
Integration with iCloud
Enable iCloud for seamless access to scanned documents across Apple devices. This keeps your files backed up and easily reachable from different locations, offering peace of mind regarding file safety.
Efficient Sharing Practices
Share documents directly from your iPad via email, messaging, or cloud platforms, ensuring recipients can access files in preferred formats. Use sharing settings in the Files app to streamline this process.
As syncing and sharing are streamlined, troubleshooting ensures file security and accessibility.

Troubleshooting and Tips
Occasionally, issues with file storage or accessibility may occur. Knowing how to troubleshoot these problems maintains efficiency in document management.
Common Storage Issues
Problems like syncing errors or misplaced files might arise. Regularly updating apps to ensure proper functionality and verifying iCloud settings can solve many of these issues. Ensure ample storage space to prevent failures.
Recovering Lost Files
If documents go missing, use the Files app search function to locate them. For files stored in the cloud, check the cloud service’s backup folder. Implement routine backups to mitigate file loss risks.
Troubleshooting tips keep your document management system reliable, closing the loop on efficient file handling.
Conclusion
The effective management of scanned documents on an iPad involves knowing where they are stored, organizing them well, syncing across devices, and resolving any storage issues that arise. By following this guide, you can utilize your iPad to its full potential, maintaining a streamlined workflow that integrates document management seamlessly with your daily tasks.
Frequently Asked Questions
How do I change the default storage location for scanned documents on my iPad?
Go into your scanning app settings to adjust default storage pathways, directing files to customized folders in the Files app.
Can I access scanned documents from other devices?
Yes, enable iCloud storage for seamless syncing, granting access to scanned documents from any synchronized Apple device.
What should I do if I can’t find my scanned documents in the Files app?
Use the search feature within the Files app to locate files by name or type; verify storage settings to ensure saving paths are correctly configured.